

Back in May, some of you may remember that I shared a project for DIY framed pin cushions. I made the pin cushions by using these awesome free monogram printables from my favorite ladies (Jenny and Luisa) over at For Chic Sake blog:

My monogrammed pin cushions were perfect end of the year teacher gifts and I also made one for myself and I have just loved it and use it all of the time. Of course, I can’t just stop with pin cushions (because I am beyond obsessed with these free monograms), I had to make a personalized mousepad for my new desk in my office/craft room:

This is such a fun project and it’s also a great personalized gift idea for the holidays for teachers or girlfriends. You can bet that my friends and family will be getting these at Christmas!
So let’s jump right into the instructions;
1) You can use any kind of rubber-ish/flexible type mousepad either one that you are already using or you can pick one up at the dollar store. I used this one that my husband had laying around:

2)Next, go to the blog For Chic Sake here and pick out your free monogram printable print in the pattern and color (follow instructions for creating the monogram). There are several patterns and colors to choose from on For Chic Sake and I decided on their awesome Chevron Monogram in the light blue. I followed their great instructions and typed in my initials and created the printable.
3) The best fabric to use for the printer is a piece of white broadcloth fabric (which is the thinest I could find). You’ll need to attach the fabric it to an 8.5 x 11 piece of adhesive label paper (I know some people print on fabric by ironing on freezer paper as well):
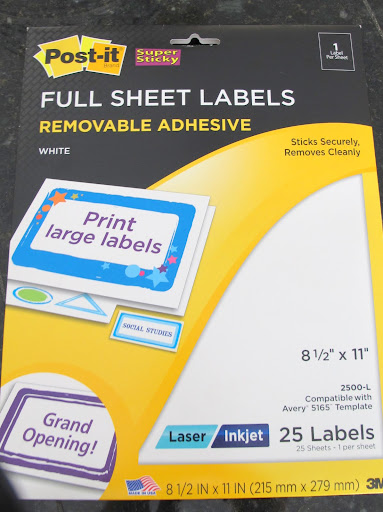
4) Next, trim the fabric to the exact size of the label paper and take a credit card and rub over the back of the adhesive paper and fabric to make sure that the adhesive is completely attached along the edges and all over. Hit print and run the fabric through the printer. It prints out perfectly!

Because the printer ink needs to dry, carefully remove the fabric from the adhesive back and lay it flat to dry for an hour:

5) At this point, you have to be really careful because the slightest bit of water or moisture will make the color bleed. So it’s important to let the fabric dry and then iron the monogram for one minute on the highest setting with no steam to heat set. I thoroughly ironed the monograms twice for more than a minute (letting it completely cool in between ironing).
6) To protect the fabric even more from bleeding and getting dirty, I sprayed my monogram with three very light coats of Scotch Guard. It’s safer to do three light coats than one thick coat (let them dry in between coats). I know there are other great products and techniques out there for sealing inks that have been printed on fabrics and I would love to know if you have a favorite method or product.
7) Next, I ironed Heat and Bond to the back side of my fabric monogram. After it cooled, I removed the Heat and Bond paper and ironed my monogram onto the fabric side of blackout drapery backing (Blackout drapery backing is perfect for this project because it’s thick and one side is fabric and the back side is rubber, which can be easily glued to the mousepad. This could also be done with thick white fabric as well. You want something thick so that the color and pattern of the mousepad won’t be seen through the image. (If you can find light colored mousepads with no text, you can just iron your monogram onto your mousepad with Heat and Bond.
8) After I ironed on my monogram to my blackout backing, I centered my monogram and traced my mousepad to the fabric monogram:


I then cut along my trace line for my mousepad top:

9) The last thing I did was to glue my monogram to my mousepad. I sprayed the mousepad thoroughly with spray adhesive and placed my monogram corner to corner and pressed down to attach:
I know that there are probably many different ways of doing this project. I would love to know if you do this project using a different method (please share in the comment section so everyone can see).
Thanks for hanging out with me today!
Cheers!
Cyndy
Marty@A Stroll Thru Life says
Cute, cute, cute. I love this idea. What a great gift too. I would love for you to link up to my ongoing Inspire Me party . http://www.astrollthrulife.net/2013/08/177th-inspire-me-tuesday.html Hugs, Marty
Patty Virginia says
I need to make one of these for my craft room. Saw where you asked for methods to prevent the colors from bleeding. I print labels for my steering wheel covers on drapery blackout fabric and run through my printer. Then, I put them in 13 X 9 glass baking pan, fill about half way with a bath of warm water and about one cup of white vinegar. Let them sit for about half hour then rinse them in another bath of warm water (no vinegar) to remove the vinegar odor. Sometimes the vinegar smell persists so I’ll repeat the second step again. Air dry and they are finished. I’ve had success with method.
PattyV
WandaNTexas says
Cyndi,
Did you roll the fabric under the edge, or did you just trim your fabric right at the edge? As always, your ideas amaze me.