

I have always wanted to figure out how to print on fabric and over the last few weeks, I finally figured it out!!
This process can be done for any kind of small project and it’s PERFECT for covering small photo albums. If you need a last minute personalized Christmas gift, this is something that I think everyone would love and the possibilities are endless.
Let’s just jump right into the tutorial!
To print on fabric for this photo album project, you first need to find your small photo albums. In my opinion, the best one to get is from Walmart and it’s $3.00 and it looks like this:
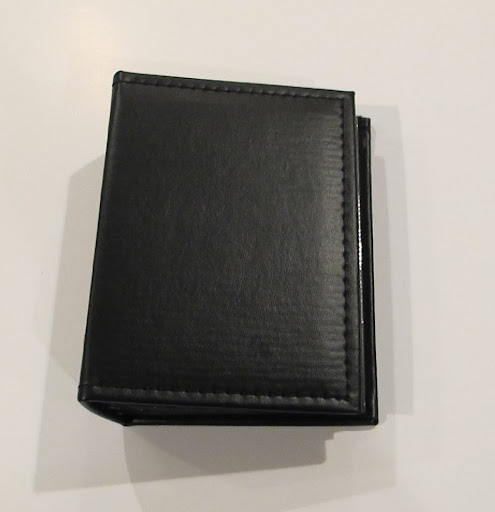
I like the Walmart albums best because it’s really hard to find narrow small albums. The narrower the photo album, the easier this project.
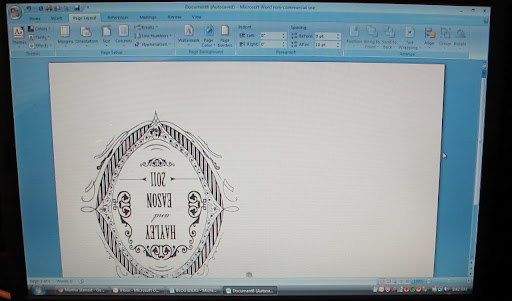
The next thing to do is to design your image on the computer in Microsoft Word. Of course the possibilities are endless and you should start by going into “Page Layout” and choose “Orientation” and click on “Landscape”. You should also go back into “Page Layout” and then “Margins” and then choose “Narrow”. This will give you all the room you a little extra room on your fabric.
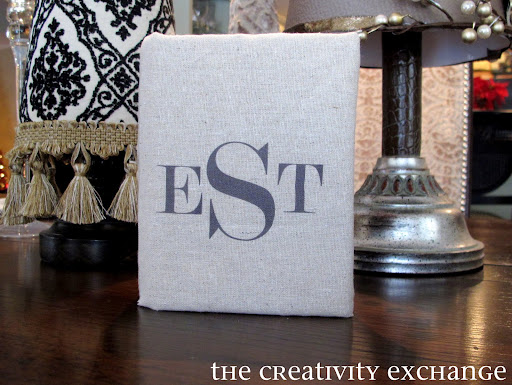
You can write out someone’s name or initial in a fun font or you can go to a website like the awesome Wedding Chicks and choose a free down-loadable custom monogram like I did for a friend with an upcoming wedding:
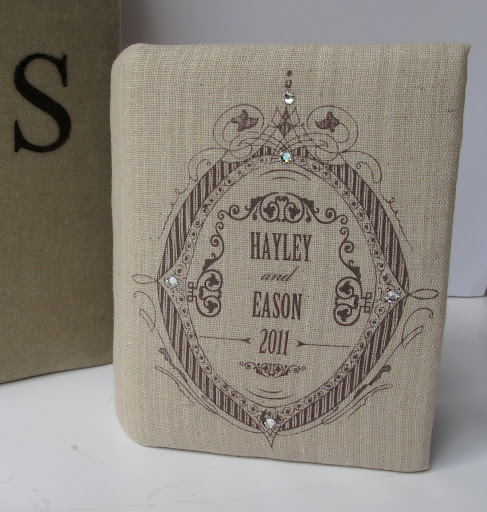
The Wedding Chicks has so many incredible and beautiful FREE decorative monograms that you simply fill in with your name or monogram and save as a picture. You then just “insert” the picture into your Word document. It is SOOOOO easy, fabulous and FREE!!
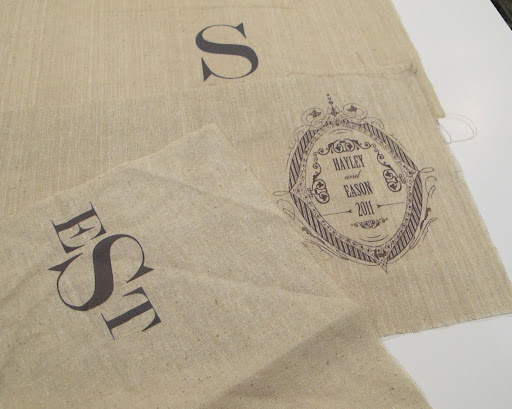
You can do three letter monograms, I draw text boxes for each letter but I think there is probably an easier way. For large monograms and designs, you will need to print on paper first and wrap around your album to figure out exactly where the image needs to go. It’s important to note that you will have some extra fabric length beyond a standard letter size piece a paper as I will show you as we get further along. For the large wedding monogram that I did, I figured out after practicing by printing out the image on paper that I had to place my image upside down like this for the fabric to wrap the right way:
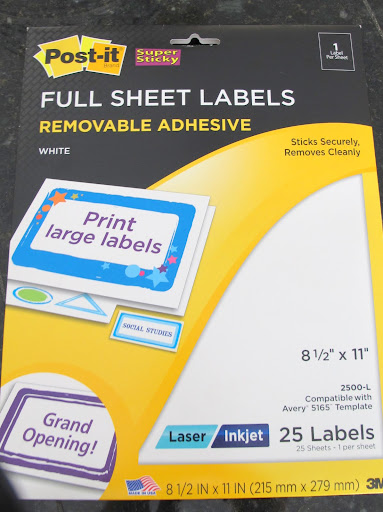
Once you get your image just right and print out several sample pages on paper and wrapping around your album, you are ready to get your fabric ready. I used a piece of light natural cotton. The lighter the fabric the better this project will work. You will start by using an 8.5 x 11 adhesive label or contact paper cut to letter or legal size paper:
Remove the adhesive back and attach to the backside of your fabric and you will need to add extra fabric to the length/end of the adhesive to fully cover the album like this:
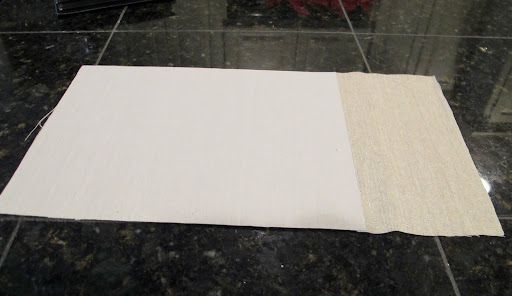
You cannot print on the extra fabric but it will give you the added length that you need to fully cover your album. Keep this in mind as you run your sample paper that you can add extra length when it comes time for your fabric.
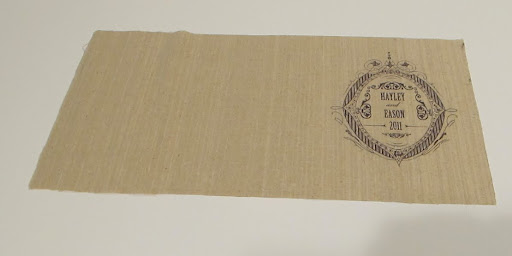
Next, run your fabric through the printer and print on the fabric side and when you’re done it should look something like this:
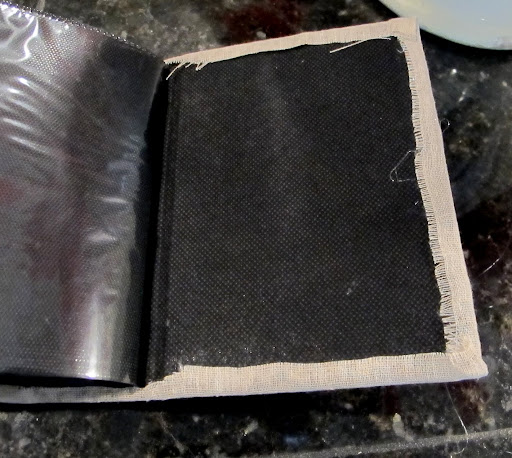
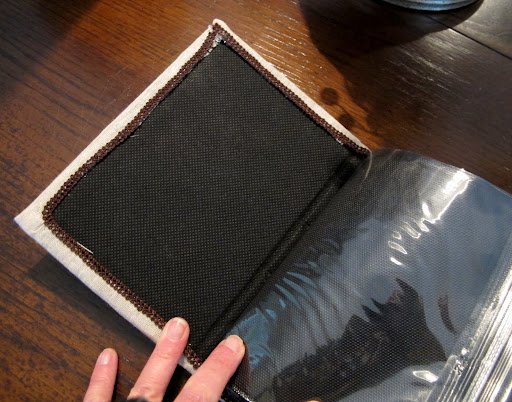
Next, open your album and lay flat on batting or interfacing of some kind. It doesn’t really matter as long as it’s cushy. For thin fabric, I use two pieces of batting for thick I just use one. Trace your album onto your batting but you will only want the batting to cover the top part of the album, you do not want it to fold over the sides. Spray the layers of batting with spray adhesive and loosely attach to the album. Do not pull tight otherwise your album will not naturally close:

Next, open your album up and lay flat onto your printed fabric and cut around the edges leaving about a 1/2 inch extra to fold and hot glue to the inside of the album:
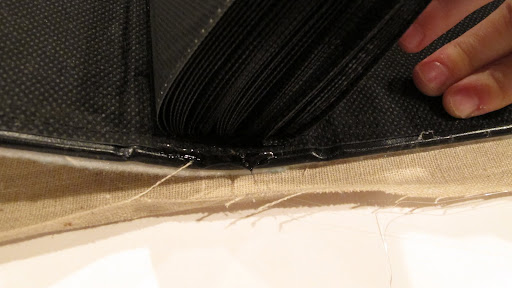
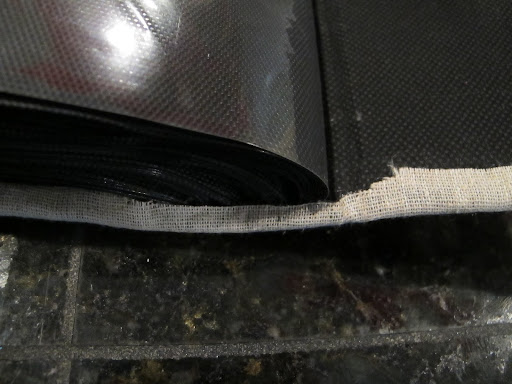
For the narrow part of the middle of the album where the pages are, you will need to trim to about 1/4th an inch just enough for it to lay flush but not to interfere with the pages:
Hot glue all of the edges down and around and I folded my corners and glued just like wrapping a present. When you are finished, it should look something like this:
Finish off the rough edges by hot gluing a narrow piece of decorative trim over your edges. Remember, the trim will need to be narrow enough to lay flush in the narrow middle at the pages:
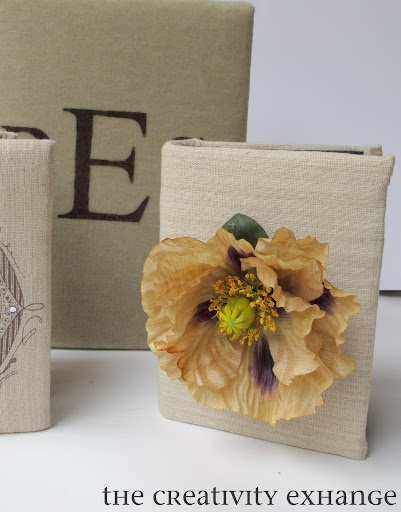
If you don’t want to print on the fabric but still want to cover an album with a funky print or natural fabric, you can add a beautiful brooch to the cover or hot glue a flower like I did on this one:
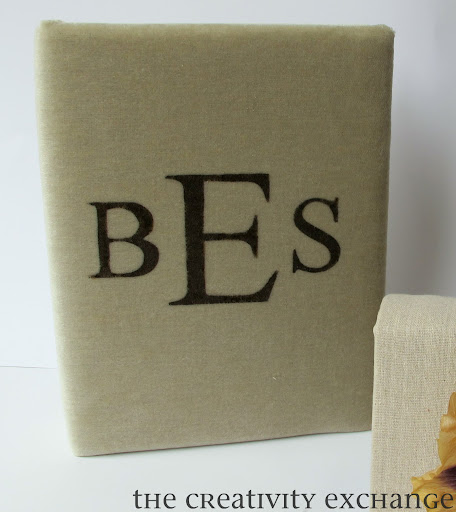
I used this same technique to cover a larger album (also found at Walmart) in a gorgeous taupe velvet that I monogrammed using the adhesive stencil technique:
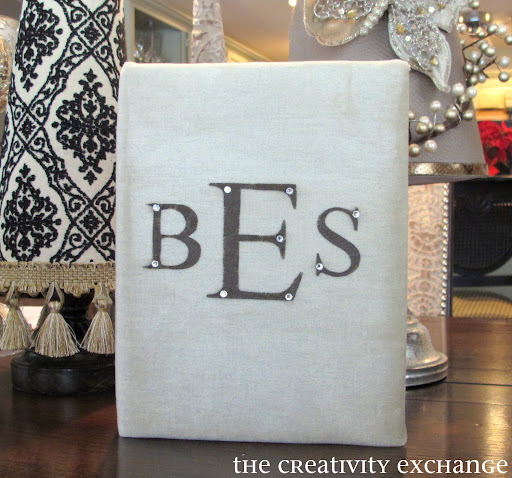
I couldn’t help myself and ultimately decided on adding some bling for this very special friend:
For stenciling with adhesives on fabric with screen print paint, you can find my tutorial here.
Like I have said, there are so many endless possibilities with this project and I want to do some really fun and modern patterns as well. Oh boy, a new obsession has been born!
Well friends, I hope your holiday preparations are going well and I hope to have a post or two up before Christmas day. I have finally caught up so I should have a little extra time to share one more project at least!
Enjoy the rest of the week!
Cheers!
Cyndy
Bama Girl says
Your projects are always so amazing! How do you come up with these wonderful ideas? Thank you so much for sharing this with us! I hope to try it once I figure out how to do this in Micrsoft 2000. My computer is old and I’m not sure if the laptop has the complete program.
Laura@ Ms Smartie Pants says
Wow, you are just a bundle of info! Thanks for sharing all of that. This is something I have always wanted to try and those photo albums are adorable. Lucky person who gets that gift!
Mrs. Delightful says
Very creative idea! Thanks for sharing.
~Mrs. Delightful
ourdelightfulhome.blogspot.com
Hayley says
I just LOVE it! Eason and I have already picked out pictures we want to put in it! You are so talented and so thoughtful! Thank you, Cyndy!!
Holly says
This is such a great idea!! I am always trying to figure out how to do this. Thank you for the great idea! I am your newest follower!
BethM says
I have been meaning to try this and have not, but seeing how pretty yours have turned out has me itching to do it as soon as the Holidays are over! Very pretty!
Karah @ thespacebetweenblog says
Oh, I love the personalized touch of this. Great gift idea! Happy Holidays!
Karah @ thespacebetweenblog
Suzy says
What printer do you use? Does it work with all printers? Great idea.
Cyndy says
I just have an old HP printer.It should work on any printer! Let me know if it does not!
susu65 says
Just found your site and have had a great time surfing and reading all your wonderful ideas and tutorials. I wanted to let you know if you get tempted big time to buy a Cricut you may want to research the Silhouette Cameo. NO cartridges required – you won’t go broke with the accessories but your other worry about being obsessed with it could come true!! LOL
Kari Hoisington says
I just found your website through Pinterest, and happened upon this post! So glad to see it’s easy to print right on fabric without having to get a special printer! I’ve been wanting to make some customized burlap pillows, and now I can!
Thanks for sharing your DIY secrets!
Geraldine says
I’ll be trying this, it’s a great idea!
Abi Hunter says
this is such a good idea, i wasnt 100% it would work but i gave it a go and its excellent – now i just need to think of some ideas for how to use it!
pictures here http://abimakes.blogspot.co.uk/2012/04/print-on-fabric.html
kbsalazar says
Intriguing idea. I’d like to print a pattern to stitch, then embroider it before covering a book.
Does the backing label peel easily from the fabric after it has been through the printer? This might be problematic if one uses a laser printer that anneals toner using heat.
If not – is stitching through the paper possible? Have you tried it?
Thanks in advance for any/all answers. -k.
Cyndy says
I just have your basic printer, I think it’s an HP photo printer. The backing/label paper comes right off. I do not know about any heat type printer and what that would do to the adhesive from the label. I love the embroider idea! I don’t see why it wouldn’t work except you would need to take the label off before stitching because the adhesive would gum up your sewing machine. I think if you printed your pattern using this technique and then removed label and embroidered, I don’t see why it wouldn’t work. If you try it, please come back and let us know how it worked out. Thank you so much for stopping by!
Lowri McNabb says
Hi – linked backed to this post from my blog today – thanks for the great inspiration!
Mel McCarthy says
This is fabulous! I have to try out some fabric. Thanks for sharing all of the steps.
Jen Migonis says
Oh my goodness, I am dying to try this now! Can’t wait to go to Wedding Chicks… Thank you!!!!!
kelly says
Hi Cyndy. I can’t tell you how much I appreciate your tutorial. It takes time to put together pictures and instructions as you did and then share them with the world. Thank you, thank you – I’m hooked on your site now. If you have time, can you tell me what your canvas-like materials are? Best! Kelly
Cyndy says
Thank you so much Kelly for your kind note!
The canvas looking fabric is actually a very thin cheap broadcloth in natural. It’s sold with the interfacing and broadcloth. I picked it because it looks just like linen buts it’s super thin and more stiff like cotton.
Thank you again for your note Kelly!
kelly says
Perfect! Thanks for letting me know…I’ll check it out.
Sue says
Brilliant idea! Can’t wait to try it… thank you so much. Can you suggest similar backing paper that would work? I live in Spain so need alternative to what I could buy in UK? Many thanks