

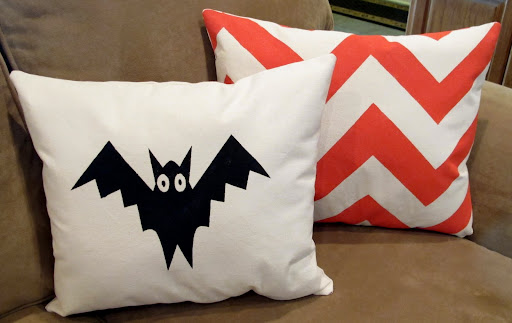
Last fall, I shared a fun guest post on one of my favorite blogs, Tatortots & Jello. The project that I shared was how to create these easy fun fall/ Halloween pillows by using screen print paint, tape or an easy label template. This was one of my favorite projects and I thought it would be fun to share it with you guys today.

Screen print paint is no different to work with than fabric paint and the best part is that you do not need a screen or special tools to do this. Screen print paints are available at all craft stores (in the fabric paint section) and it’s the same paint/ink used to create professional designs on fabrics, so the end result is not a “painted on” look but rather a gorgeous professional finish like any silk screen design.
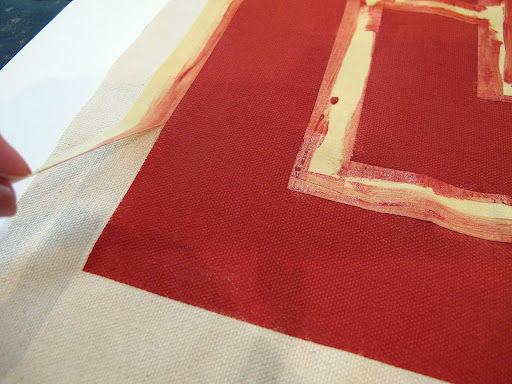
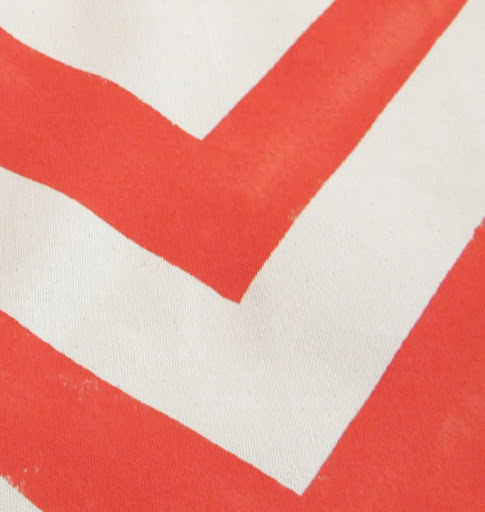
Screen print paint has an ingredient that makes the paint/ink stay exactly where you paint it on and doesn’t bleed and no color variation! You can see what I mean in this close up shot:
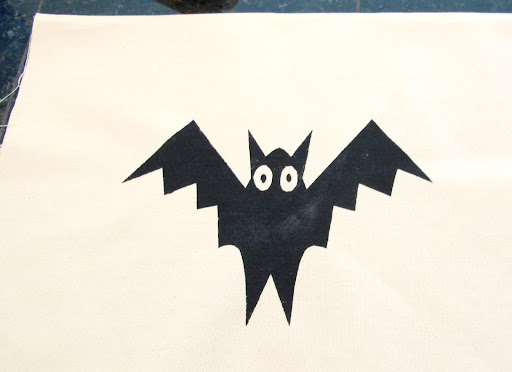
Making a chevron pillow with masking tape or a solid image, like this fun bat is so easy and the possibilities are endless with color combinations or fun images:
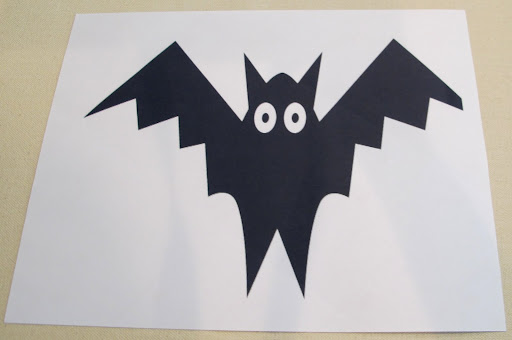
If you want to make the bat, I have created a free printable template of the bat for you to print out on a 3m Permanent Adhesive 8.5″ x 11″ plain label to make your own stencil. Just click “Free Printable Bat Template”on the blue link below to go to open the file to print.
INSTRUCTIONS:
1) This project will work on any fabric except silk. I used canvas twill on the two Halloween pillows above. I have tried almost every fabric and it works on everything including velvet and again, the only exception that I have found is silk.
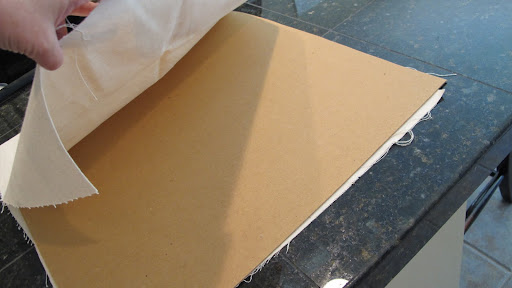
2) Cut your fabric to the size of the pillow that you want. Fold your fabric in half (front and back of pillow) and slide poster board or thicker paper in between the top and bottom just in case the paint goes through the back of the fabric.
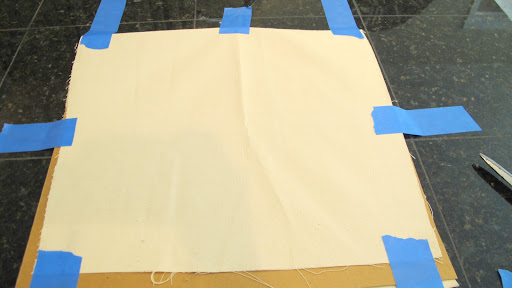
3) Pull your fabric tight and tape down to the poster board and counter. It is critical that the fabric be completely tight and flat:
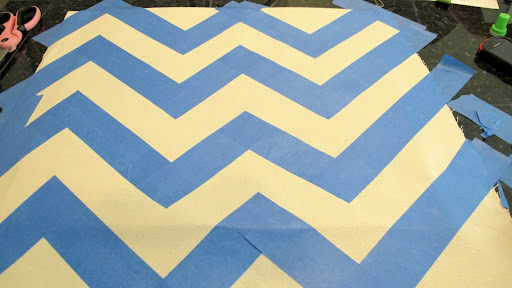
4) Next, decide on your pattern layout. For the Halloween pillows I used wide Scotch brand masking tape to tape off my zig zag. For the bat, I searched through Google images for free bat clip art and found this adorable bat that I found here and then I printed it out onto an 8.5″ x 11″ large permanent adhesive label (3M):

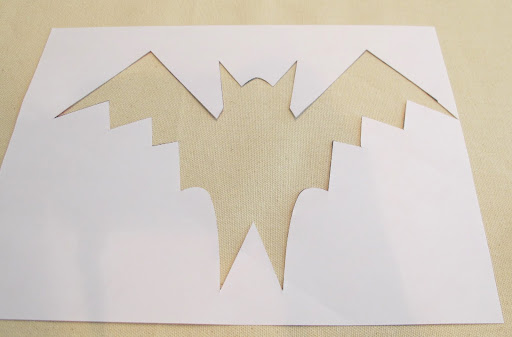
Bat design printed out onto a permanent label
5) For my bat design, I carefully cut out the design on the label and removed the adhesive backing and placed it where I wanted it on my fabric:
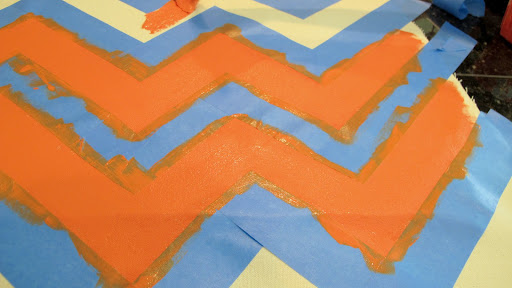
For my chevron pattern, I laid out my tape in a zig zag pattern onto my fabric and lined up the ends of the tape perfectly at each zig zag to keep the lines straight:
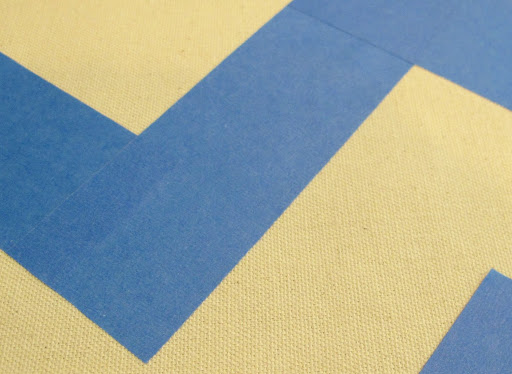
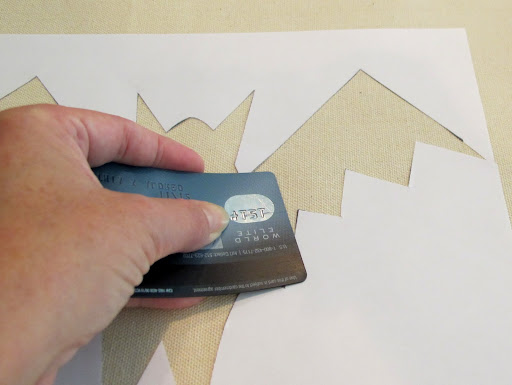
6) After I was done with the tape, I ran my finger down the line to make sure the tape was attached. I then took a credit card to reinforce the tape by press down and sliding across the tape at least 2-3 times as extra precaution.

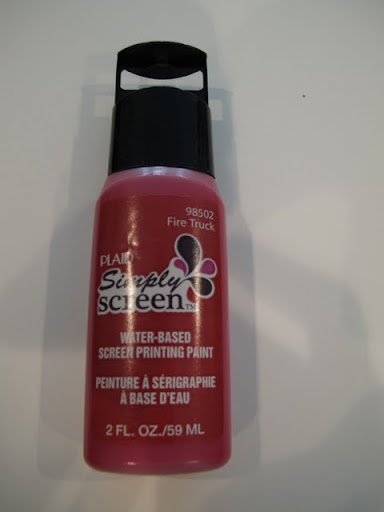
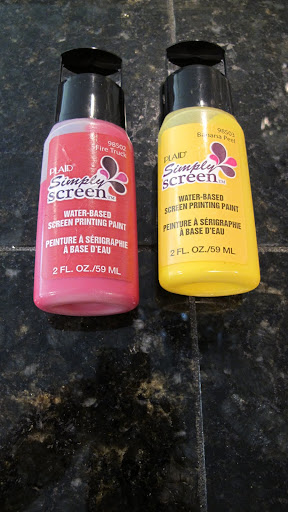
7) I have only used Simply Screen Screen Print paint and cannot speak about any other screen print paints. Simply Screen offers about 12 different standard colors and usually mix colors together to get my desired color:
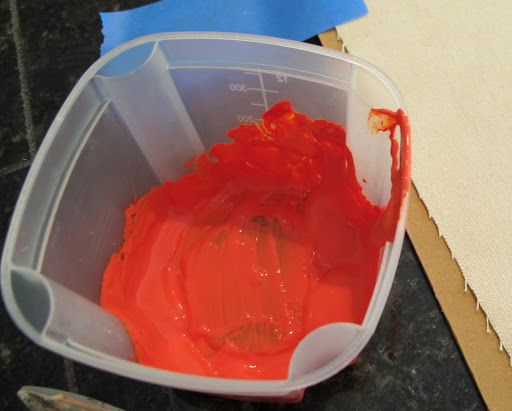
***Mixing screen print paints together is kind of like mixing jello and you wonder if it will every mix. But, eventually, you get the right consistency and texture. If you are mixing colors, remember to give yourself ample paint because you don’t want to run out of a custom mix. Also, the paint dries about 1/2 shade darker than the paint looks wet! (you can test it on fabric and dry it with a hair dryer just to be sure):
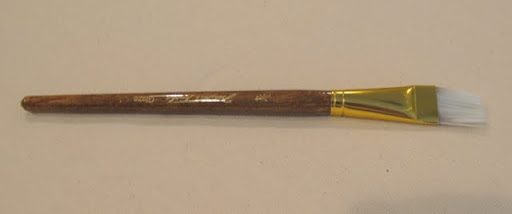
8) I tested several different paint brushes and determined that the type of brush used makes a difference. A foam brush does not work as well as an acrylic paint type brush:
As I brushed on the paint to my fabric, I was careful not to slop it on but rather more like buttering a piece of toast:
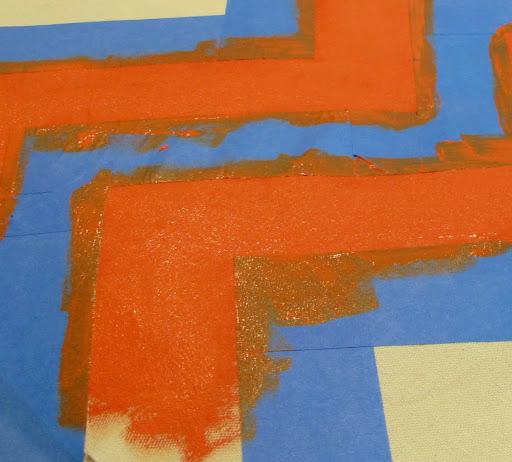
I brushed up and down and then left and right over each area. I tried to get just the right amount of paint along the lines and never go back over the lines after I have paint once or twice:
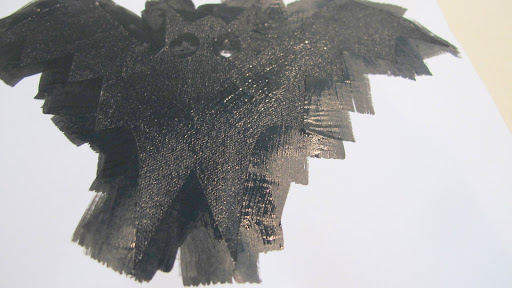
I used the same technique for my paint but I used black screen print paint:
10)Screen printing paint takes a very long time to dry! Like 12 hours! However, if you put a fan on your fabric, the wetness on the tape will dry after about 2 and you can then carefully begin removing your tape if your like me and cannot wait 12 hours to see your fabulous results and do the “it worked” crafty dance:
12) Screen printing paint also has to be heat set after 24 hours of drying. I used a pressing cloth over my pattern with an iron (hottest setting) with no steam. I then sewed the pillows:
If you like this project, keep in mind that you can use this technique on any fabric including for pillows, t-shirts, etc.. The possibilities are endless. Here is a collage of some other designs that I have done using this technique:

If you’re interested in creating geometric patterned pillows like the ones above, you can go to the tutorial that I shared here.
I hope there is something here today that has inspired you.
Have a great week friends!
Cheers!
Cyndy
Sharing posts with:


Deb says
Ok – these are super cute!!! Your bat looks full of personality. Must try for myself!!
Cyndy says
Thank you Deb! He is a cute little bat, isn’t he! LOL! I hope you try this project. We had a lot of fun making them! Thank you so much for stopping by!
Leslie Stewart says
This is perfect timing! I was just thinking about doing this and now I know the perfect way to do it! Thanks! I’d love for you to share it at my party, Twirl & Take a Bow at http://www.houseontheway.com. Hope to see you there!
Leslie
Emily says
Oh wow, that looks so nice and seems pretty easy, too!
Jill @ KitchenFunWithMy3Sons says
Love this! We would love for you to share this on our Kitchen Fun and Crafty Friday link party…just posted it! Thanks!
http://kitchenfunwithmy3sons.blogspot.com/2012/09/kitchen-fun-and-crafty-friday-link.html
Shauna @ Satori Design for Living says
Love this project! Pinning for later.
Heather says
How does this work on dark fabric. I need to paint a black sweatshirt with orange and am having trouble finding a paint that will cover the dark fabric. These are super-cute!!
Maithly Garcia says
Wow…..these pillows are just amazing. Looking forward to making these. Thanks a lot for sharing such a tutorial.