

Source:Haus and Home/ Phoebe Howard
Source:Haus and Home/ Phoebe Howard
** updated*** I recently shared more sea fan and shell double framing tricks here.
Wow, I can’t believe after five months of blogging that this is really the first time that I’m posting a project idea using something from the ocean… This is surprising because a lot of my projects involve ocean elements in some way. I love anything to do with the ocean, the sand, beach and I surround myself with anything that comes from, in, or around the sea. For all practical purposes, my daughter and I are basically mermaids being forced to live our lives on dry land… Ok, so you get the point, I like the ocean…
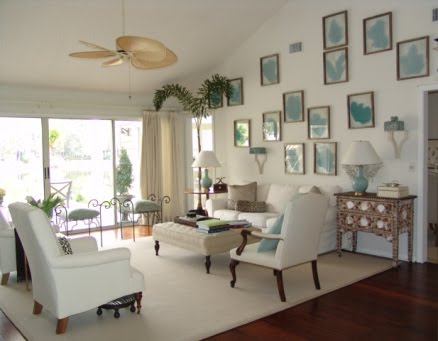
This is one of those projects that became a mission/obsession for me. I saw these beautiful framed sea fans in a very high end, “she-she” home decor store in Houston last year. There were six framed sea fans displayed on a wall similar to these pictures below (look on the walls):
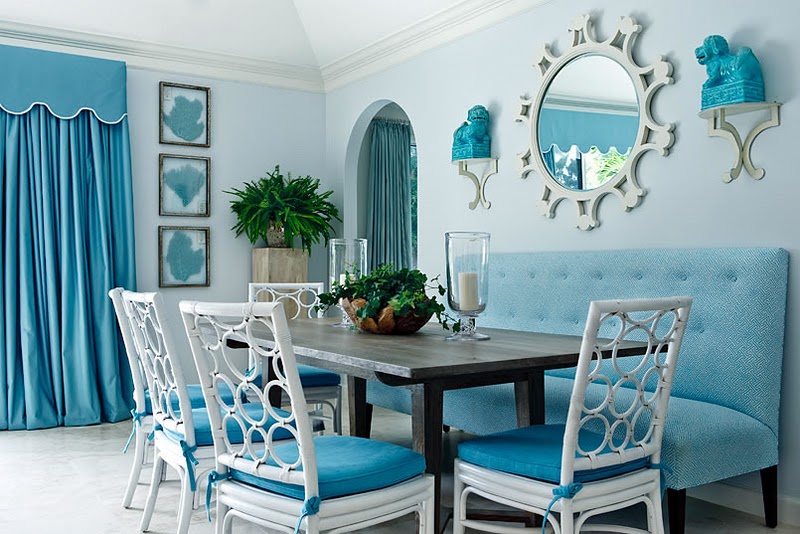 I love this color of blue a lot but this room goes too far. I would never hear the end of it if I forced my manly husband to eat his cereal in a room like this! But those sea fans are amazing!

Ok, so I saw these framed sea fans in this store and the minute I saw them, I gasped! Wow! Amazingly fabulous! So I told myself, I HAD to have them! Um… but… we have a slight problem Houston… As I looked at the price tag, I gasped again… $500.00!!! What?? $500.00 for only one? Does a snorkel trip to a coral reef in Belize go with it? Nope, no snorkel trip sadly… After a private temper tantrum and instant realization that there was no way I was spending that amount of money on one framed sea fan, my brain started to churn and I started analyzing the framed sea fan, taking mental notes and a new mission was born… I must conquer and duplicate!
So, I went to my favorite seaside shell store in Galveston called Murdochs…
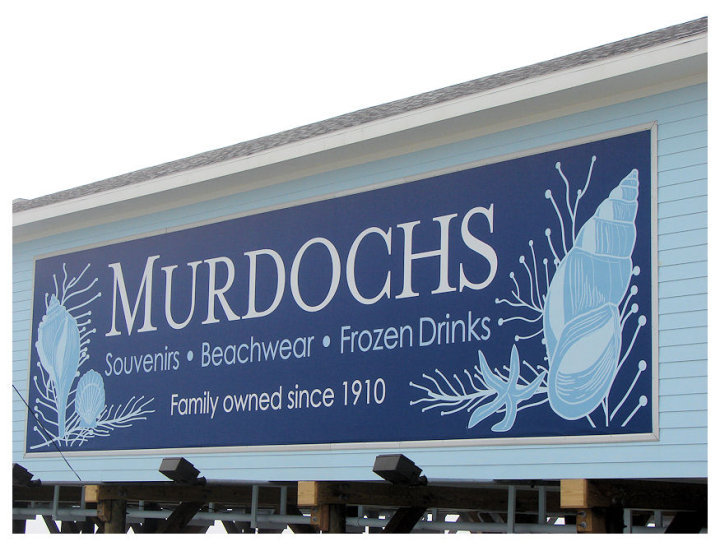
Murdoch’s is by far the best place to get any kind of shell known to man. They also carry a huge selection of sea fans, coral and other ocean goodies. It’s huge and on a personal note, they also sell the best frozen margarita’s too… What more does a mermaid need than shells and margaritas?
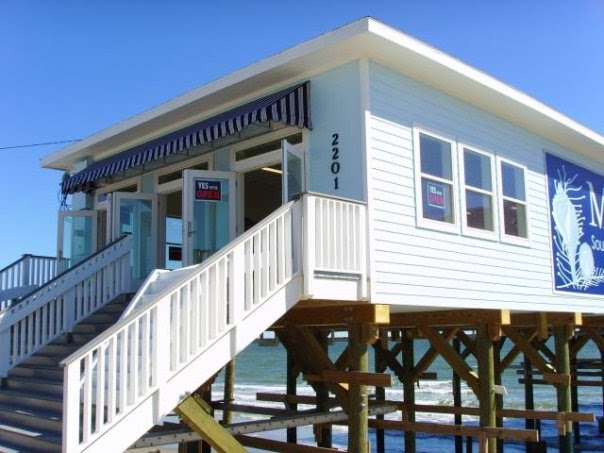
I have shopped at Murdochs for years and was devastated when I heard that it was completely destroyed during Hurricane Ike two years ago. It wasn’t just damaged, it was GONE! Completely! Just pilings left… Sad, but the good news is that Murdochs rebuilt and is finally open and it looks better than ever.
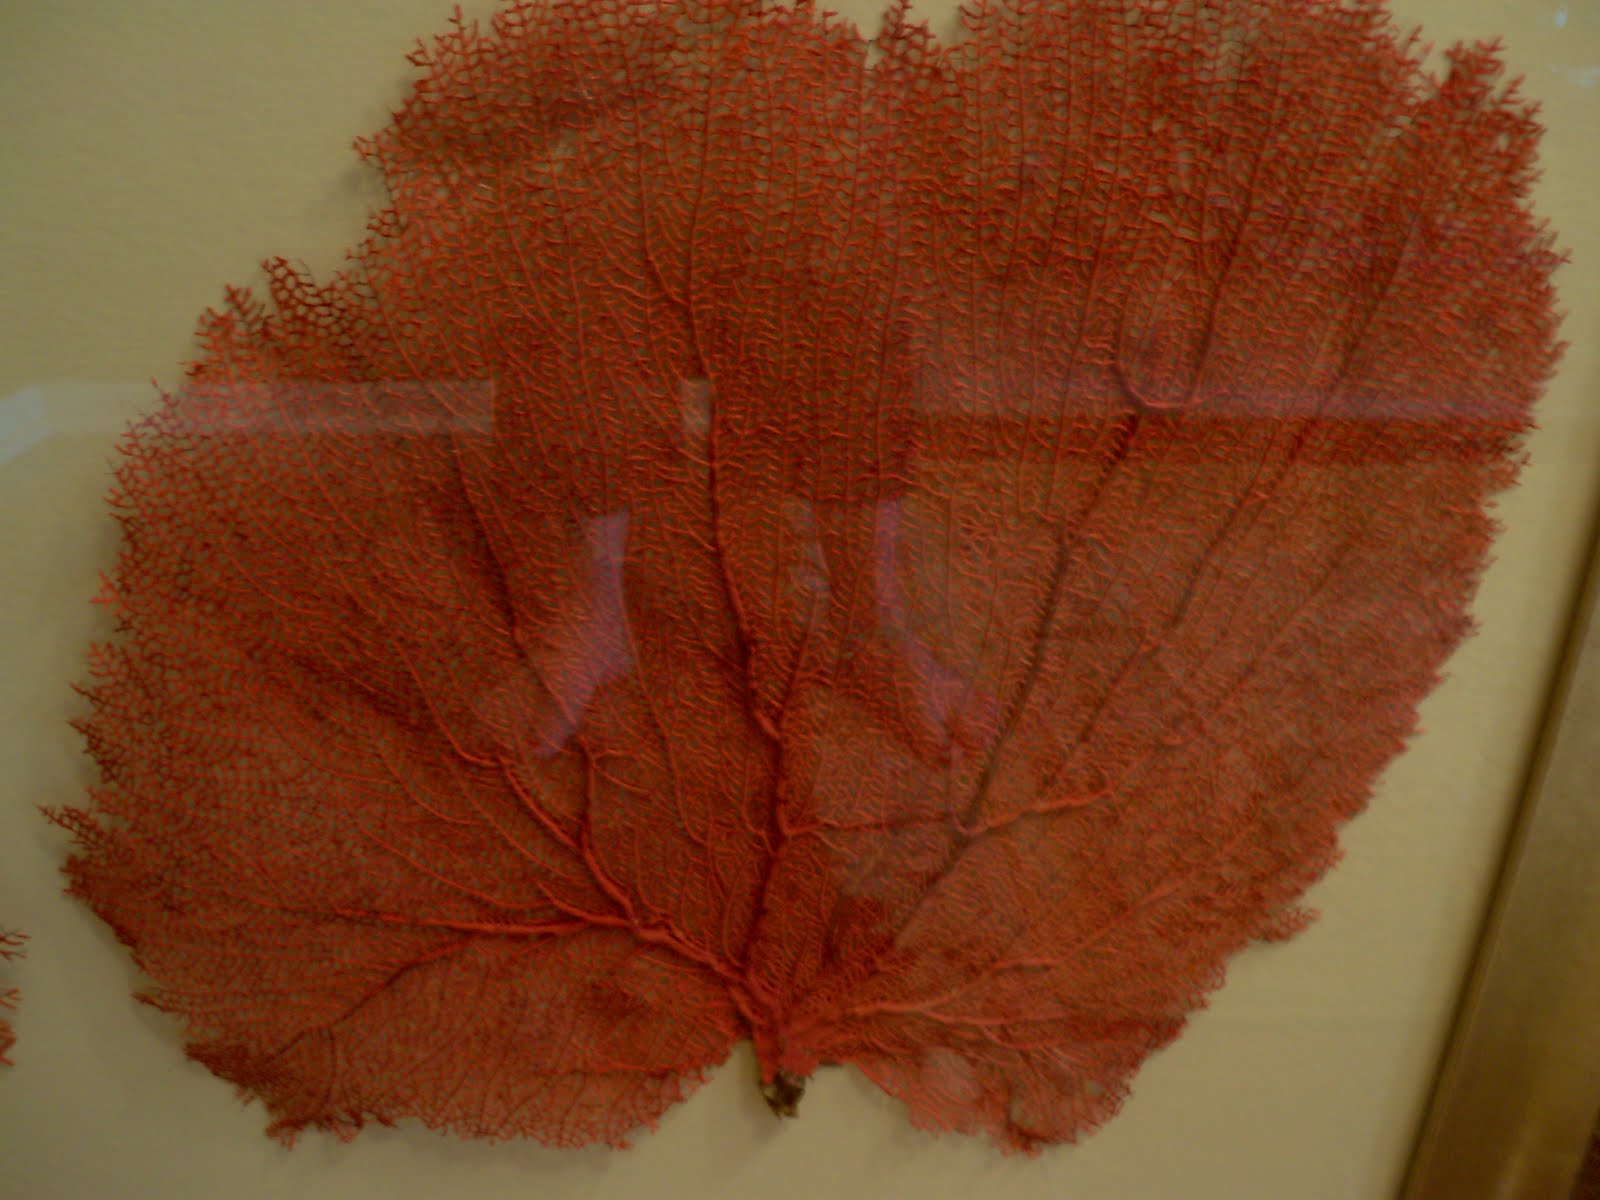
Murdochs has hundreds of sea fans in every shape and size. They look like this when you buy them naturally:
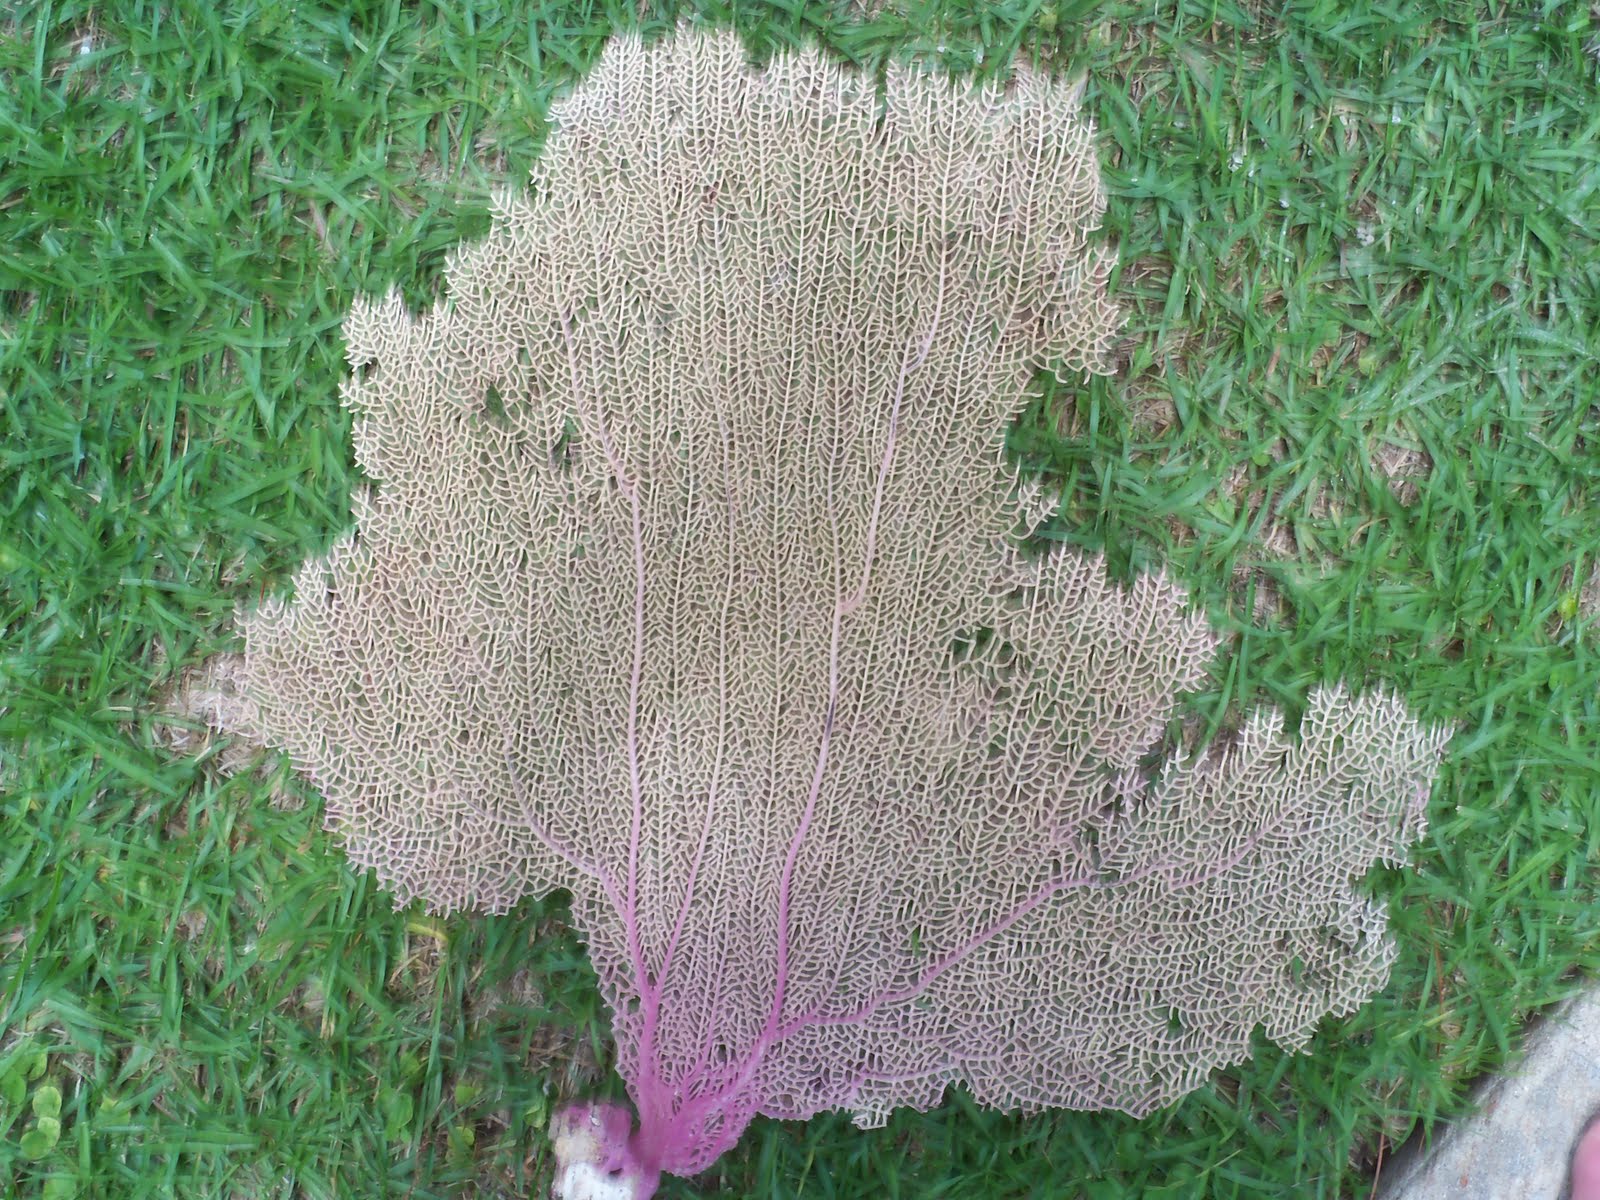
If you don’t live near a store that sells shells and sea fans, you can buy natural sea fans online here. Just figure out roughly what sizes you want and they are cheap enough ($3.00-$10.00) that you can buy a couple extra just in case.
So at first, I just thought that the framed sea fans that I saw in the store were just simply painted, so I spray painted one. Nope, doesn’t look good. The originals that I saw looked naturally colored. In fact, they looked like they just came right out of the ocean and somehow retained its underwater vibrant color and were just framed. When I painted them, they looked cheap. So I racked my brain… I kept thinking how did they color those sea fans to look so naturally vibrant in color? It looked organic to me… What product can color things organically? Ah ha! Fabric dye! That’s it! That’s what they did! Fabric dye! Fabric dye can also dye things that are organic. Muaaaahhhaaahaa! I figured out the code!
So after I made the realization that the fans had to have been dyed, I couldn’t get to Hobby Lobby fast enough… Found it, fabric dye in EVERY color imaginable. I purchased the brand RIT Fabric Dye in scarlet red.

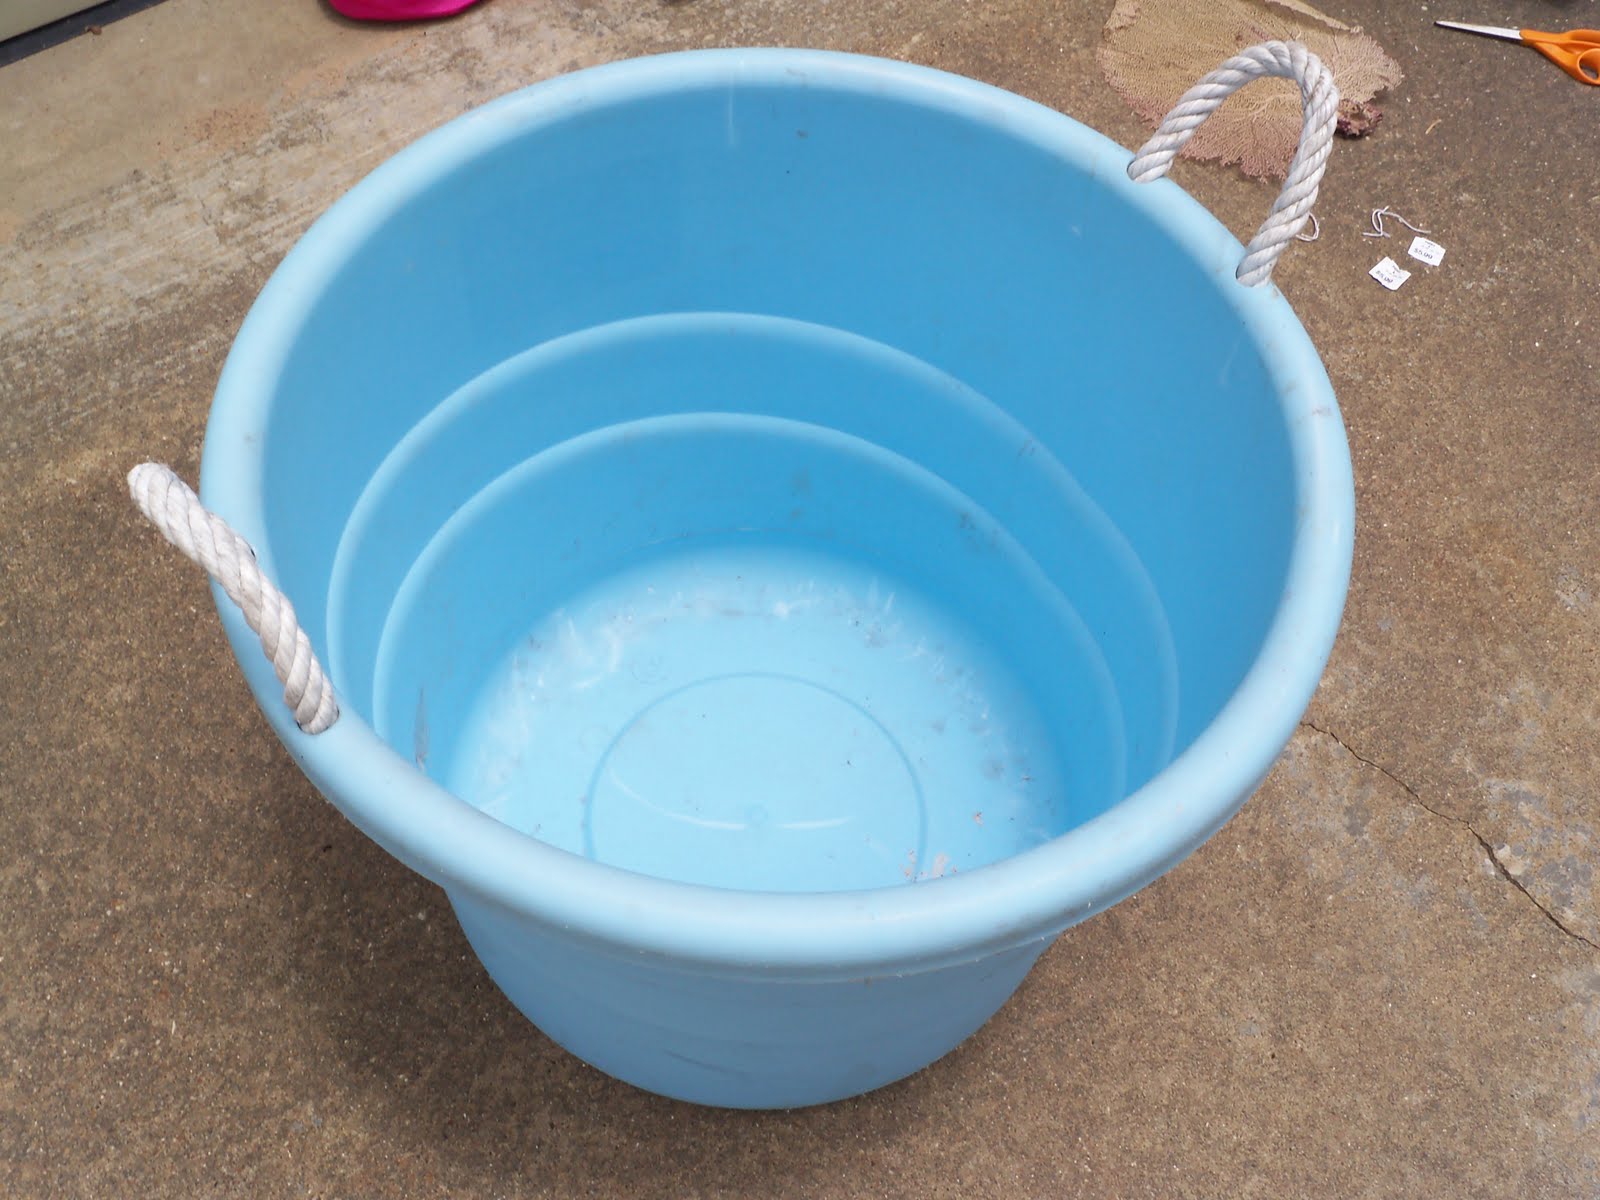
Fingers crossed, I mixed up the dye according to the directions and then poured it into this big tub that we use to clean up the yard.
I used a set of kitchen tongs and gently placed the natural sea fan in the tub of dye.
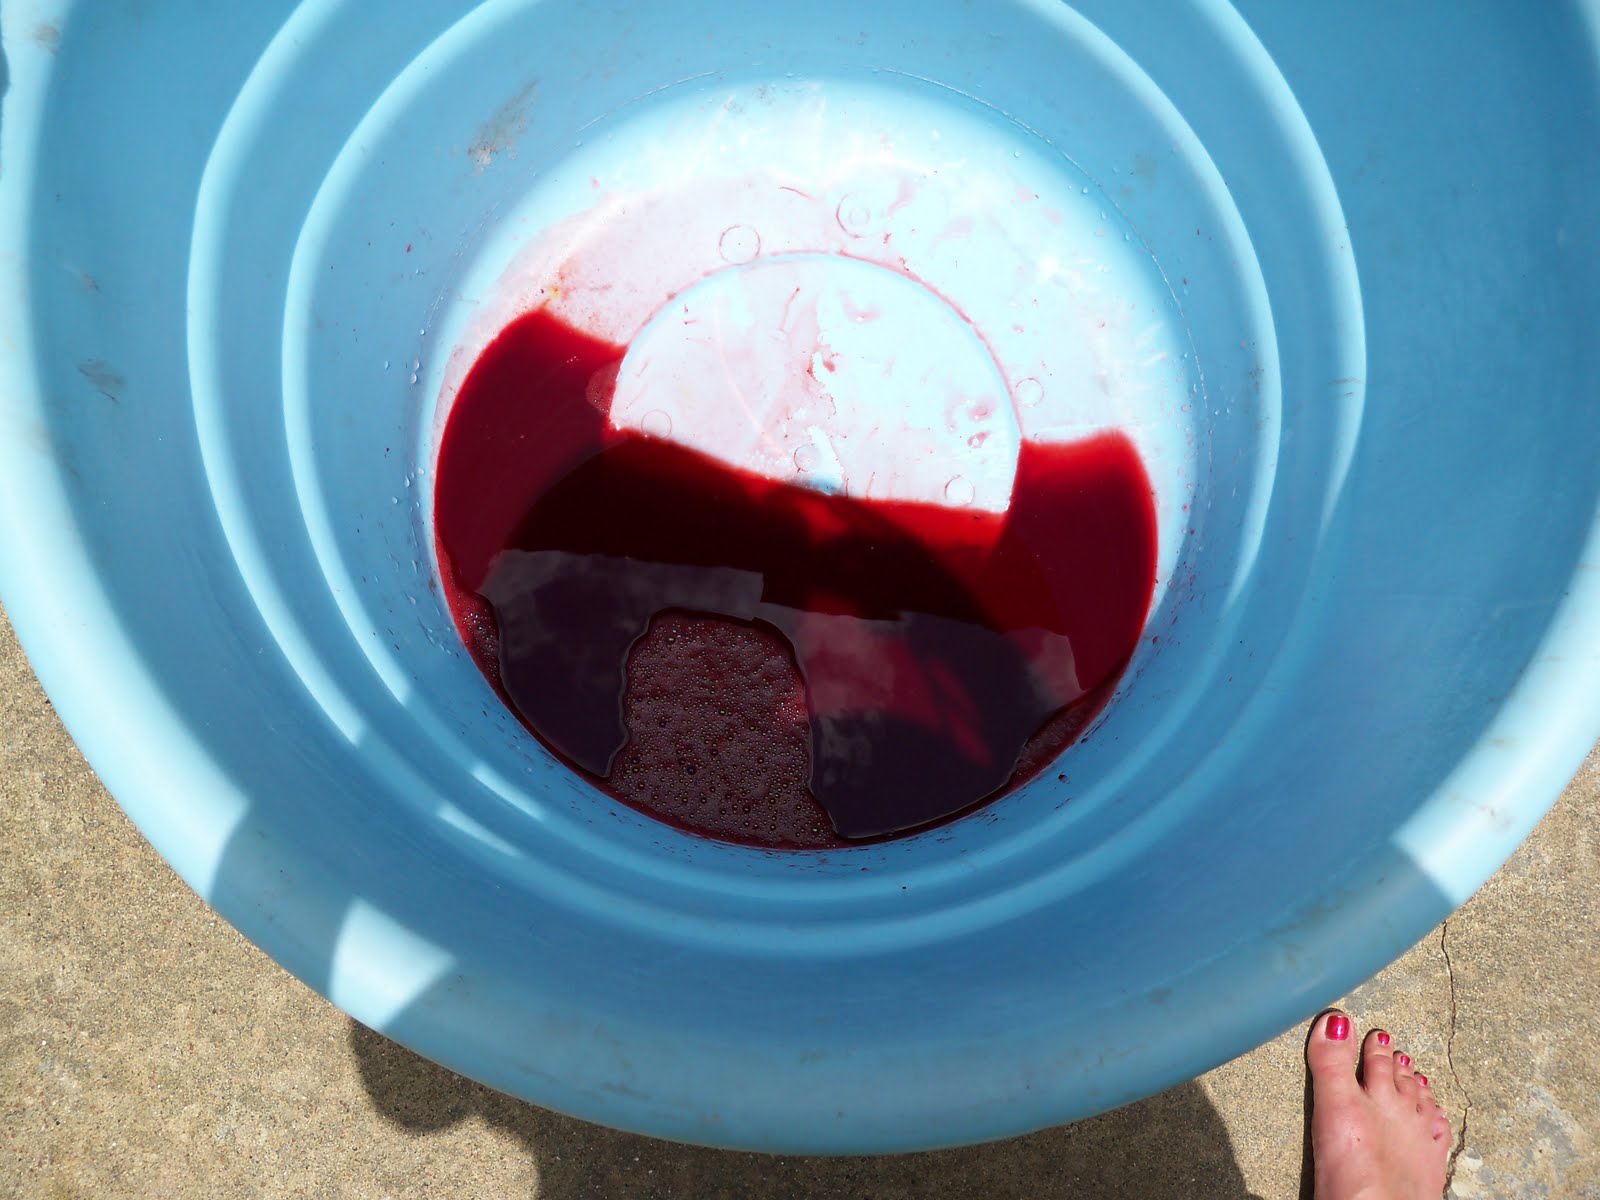
I moved the sea fan around in the dye mixture with the tongs, flipped the fan over a couple of times and right before my eyes, the bright shade of red slowly transformed and vibrantly colored the fan. I was so excited as I watched the fan fill with color that I cracked the high dollar, “she-she” store code!
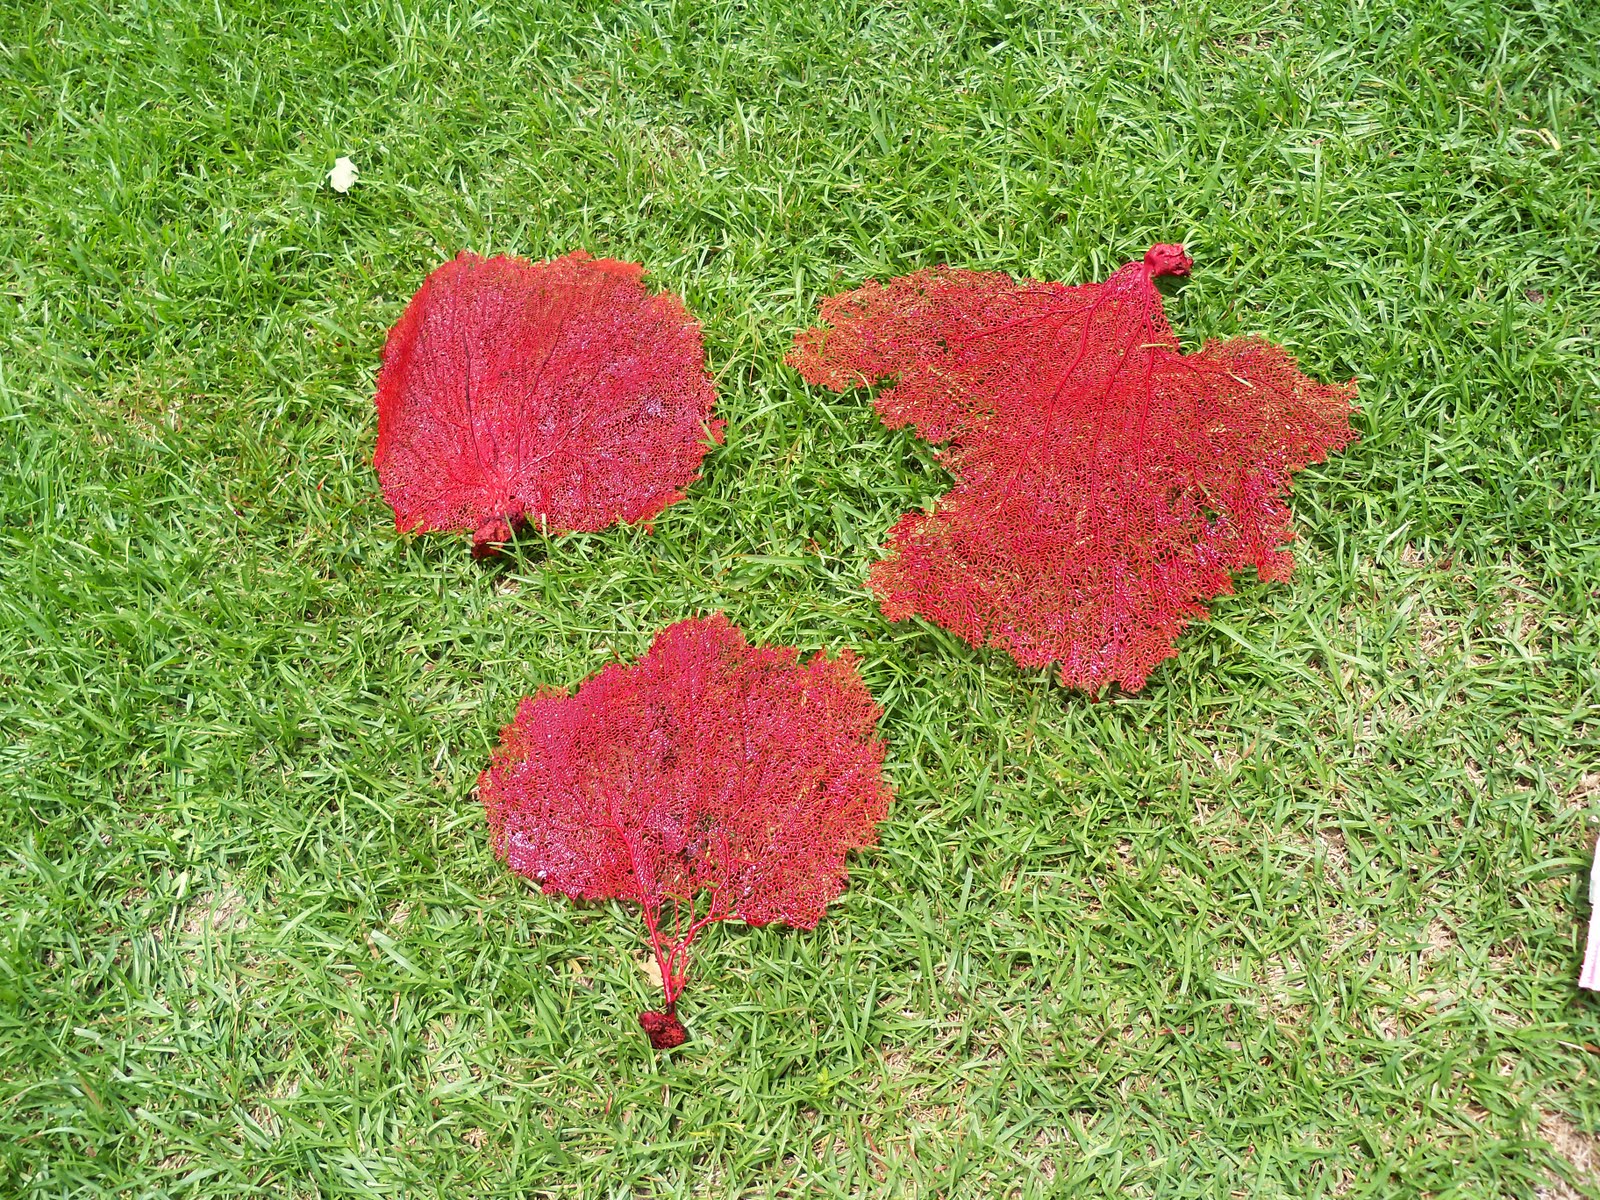
It didn’t take me long to figure out that the longer you keep the fan in the dye mixture, the deeper the color becomes. You may want to do a practice run with a piece of an old white t-shirt to get a feel for your ultimate color. If you want a really light tone and transclusent tone, take it out right away. If you want a super deep color, wait for at least 10 minutes or even more. I also mixed dye colors together to really fine tune the end result of my orange/red color (I added a touch of yellow dye mix to the red). Again, think of it like working with paint in fine tuning colors and mixing dye packages. When I got the fan the color that I wanted, I pulled it out with the tongs and laid them on the grass to dry. Takes about about 3-5 hours to fully dry.
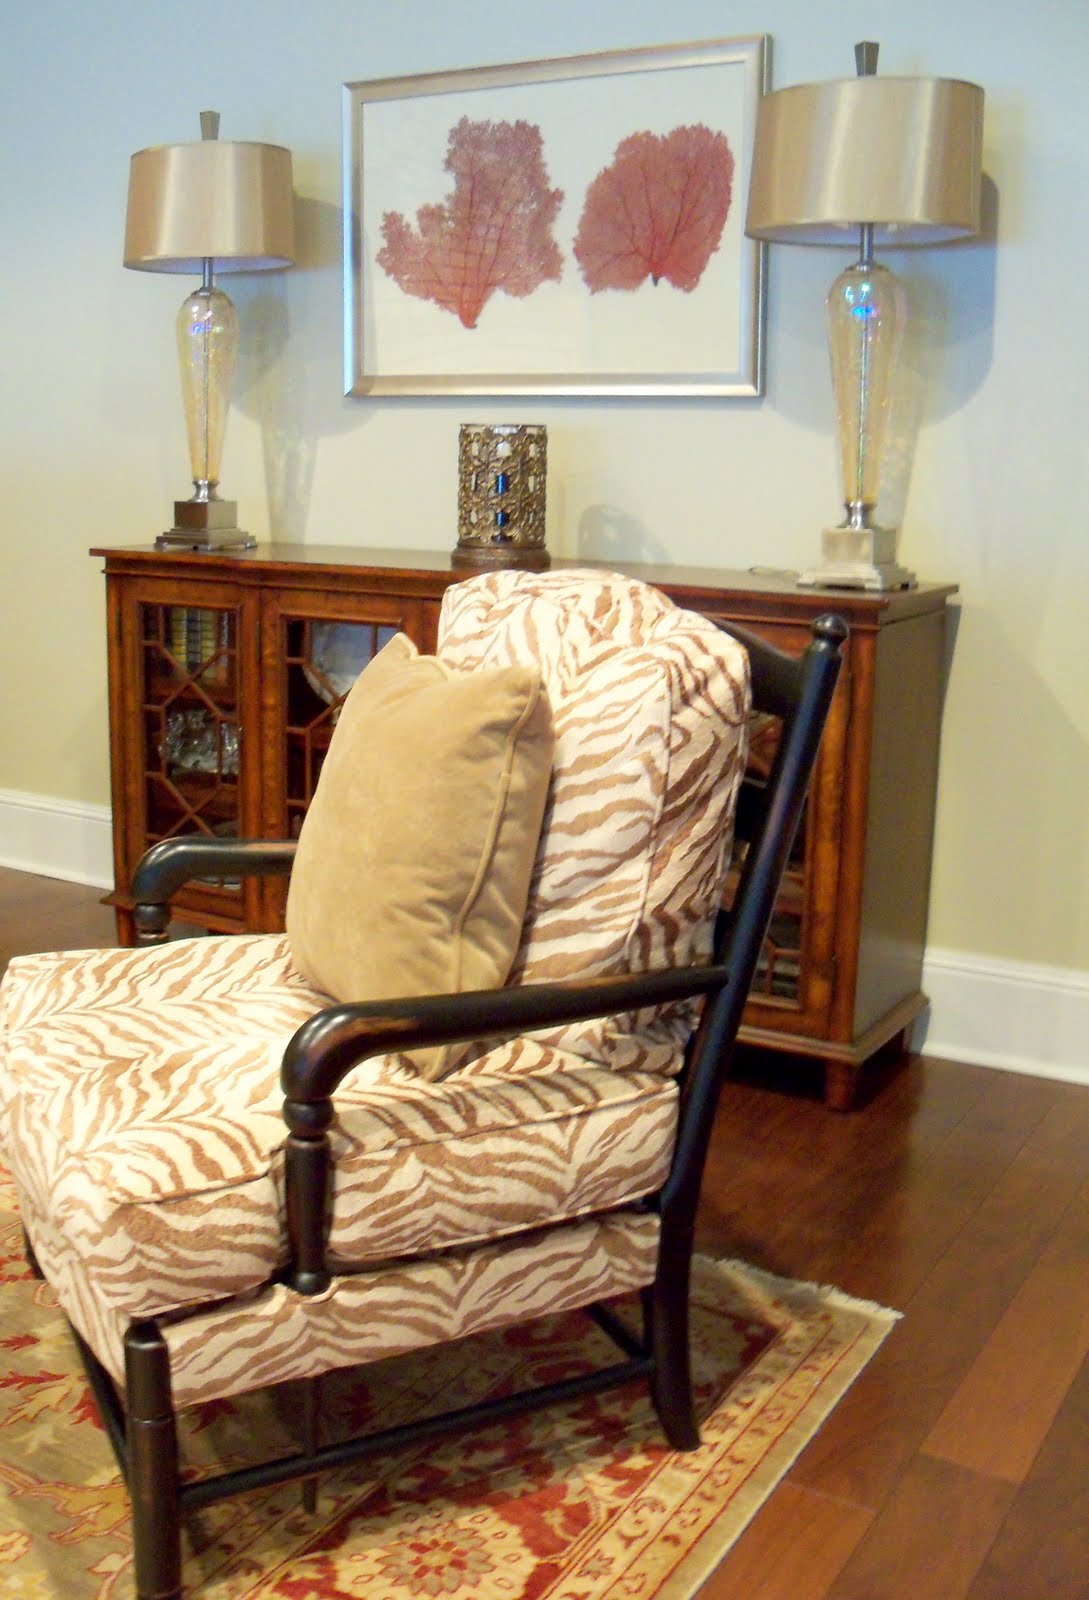
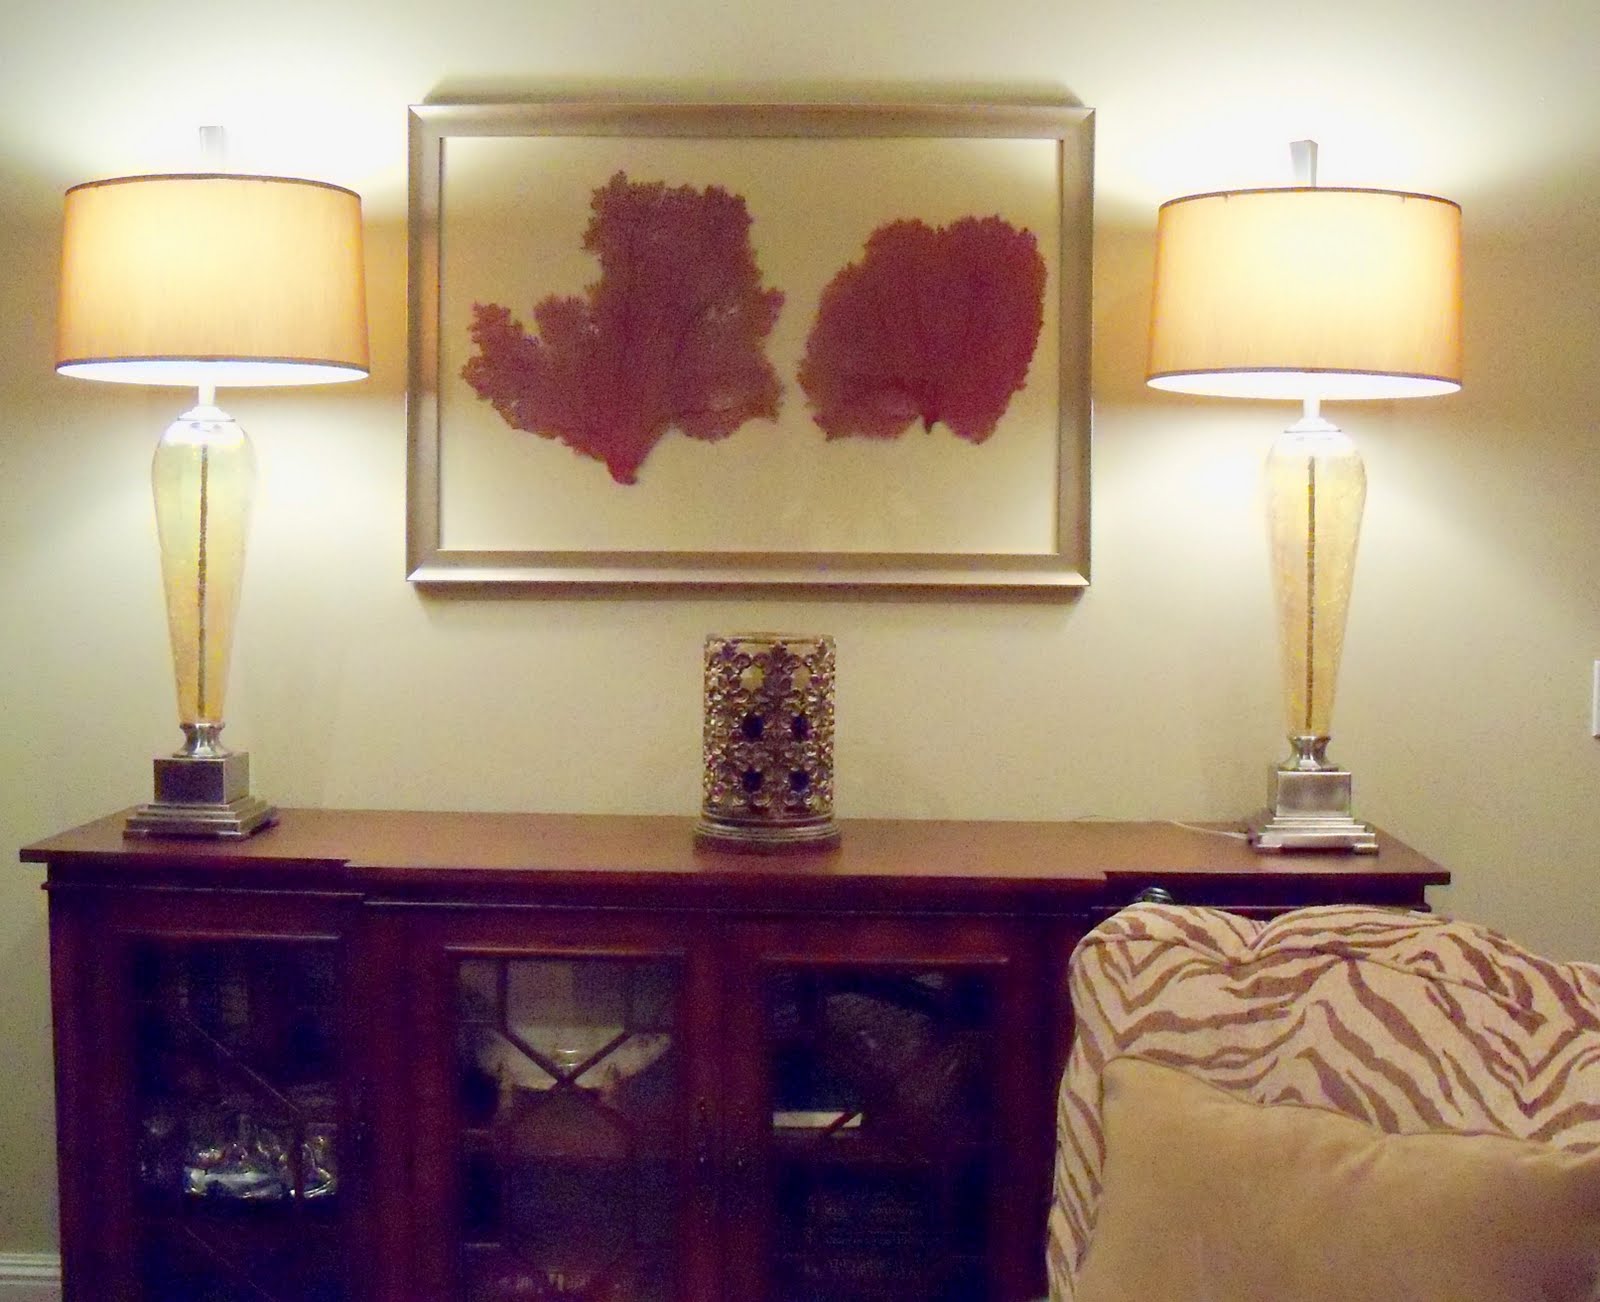
After the fans dried, I took the newly colored fans with me to Hobby Lobby and purchased ready made frames in the sizes that I wanted. I also purchased a large mat board in the exact color of my wall color where I was planning on hanging the fans. The reason I picked my wall color for the mat is that I wanted the framed fans to appear as if they were in a double glass frame. The original sea fans in the “she-she” store were in double glass and I really think that it looks amazing on the wall this way. If you can’t find a mat super close to your wall color, you can paint your wall color on a mat board and let it fully dry before gluing the fans.
After I cut my mat to fit my ready made frame, I simply hot glued the back side of the main vein going up the fan and placed it where I wanted it on the mat. I then put my completed mat board with sea fans in the frame and hung it. That’s it!
I have now tried several colors and the teal blue and scarlet are my favorite. Think how fabulous bright purple or yellow would look. The frame sea fans would look good in any decor and are a perfect decorating element because you can color them the exact color that you want to incorporate into your decor.
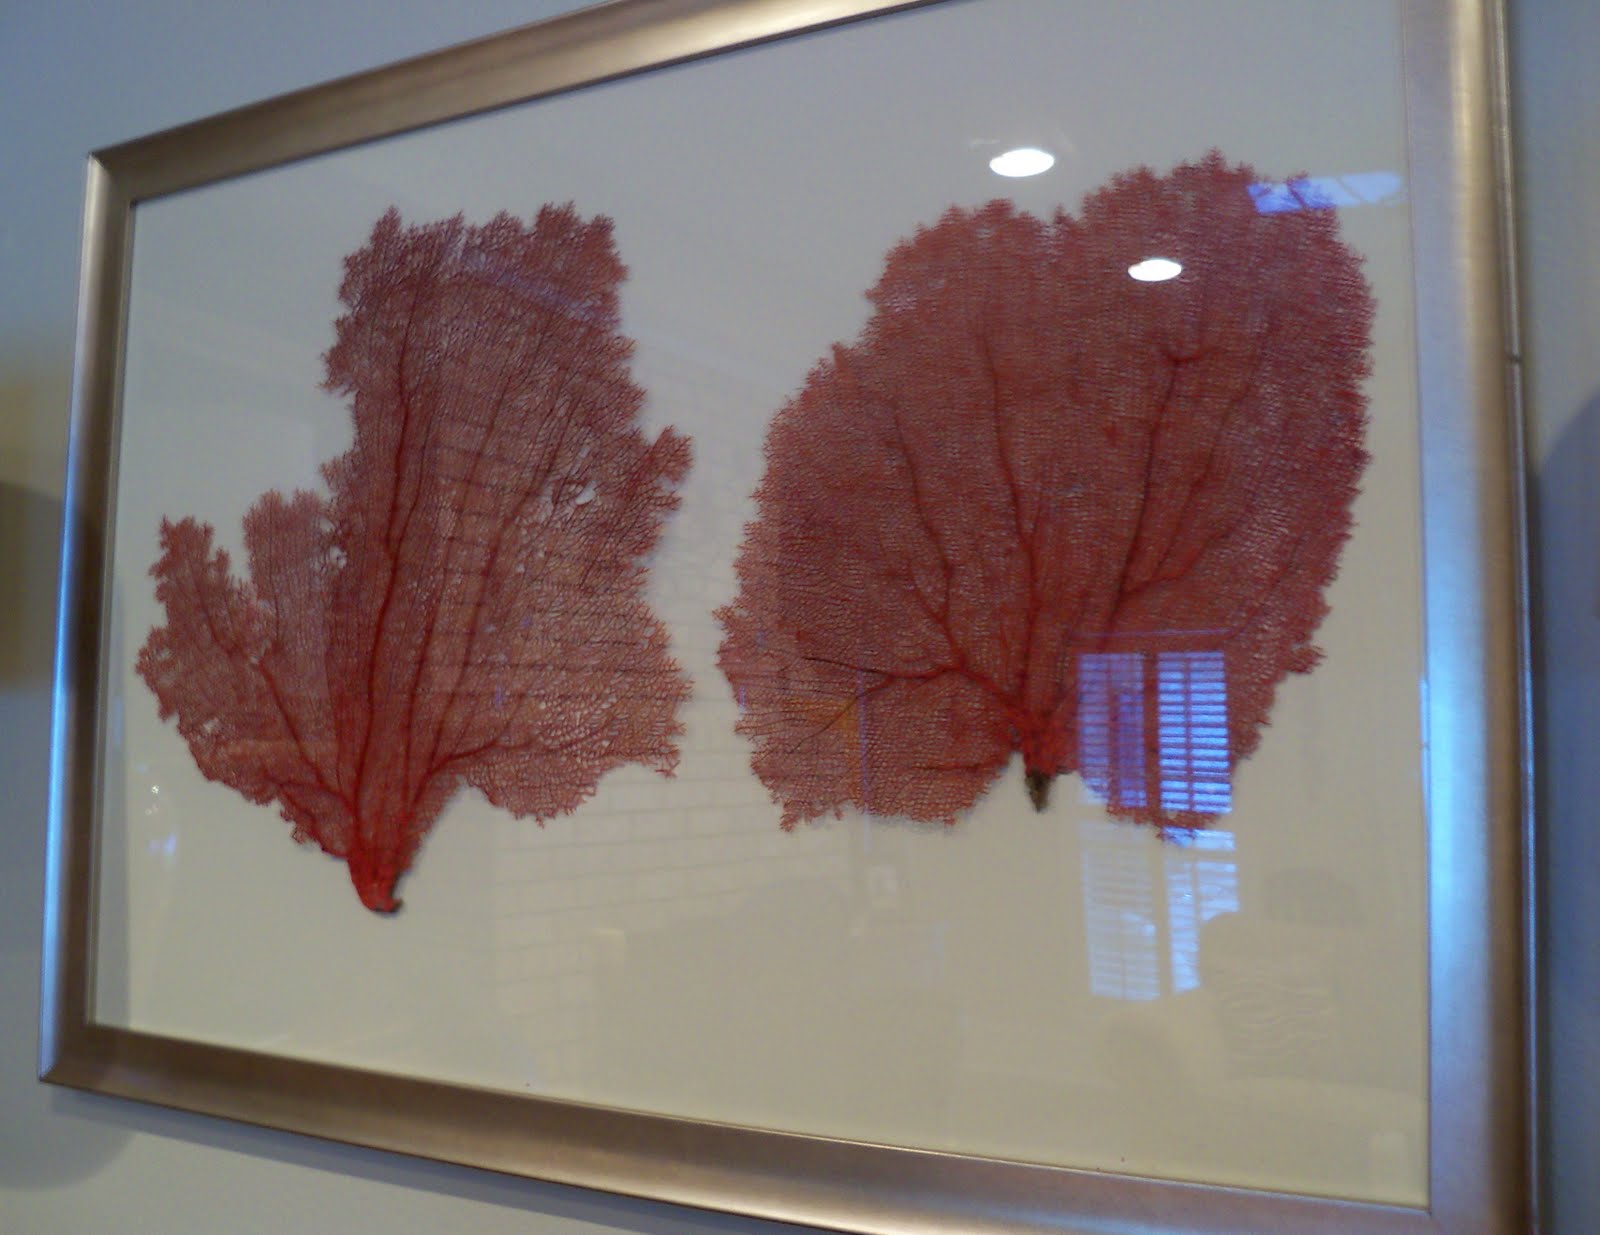
This project when all was said and done cost me around $35.00 (ready made frame was 50% off) for these framed sea fans below.
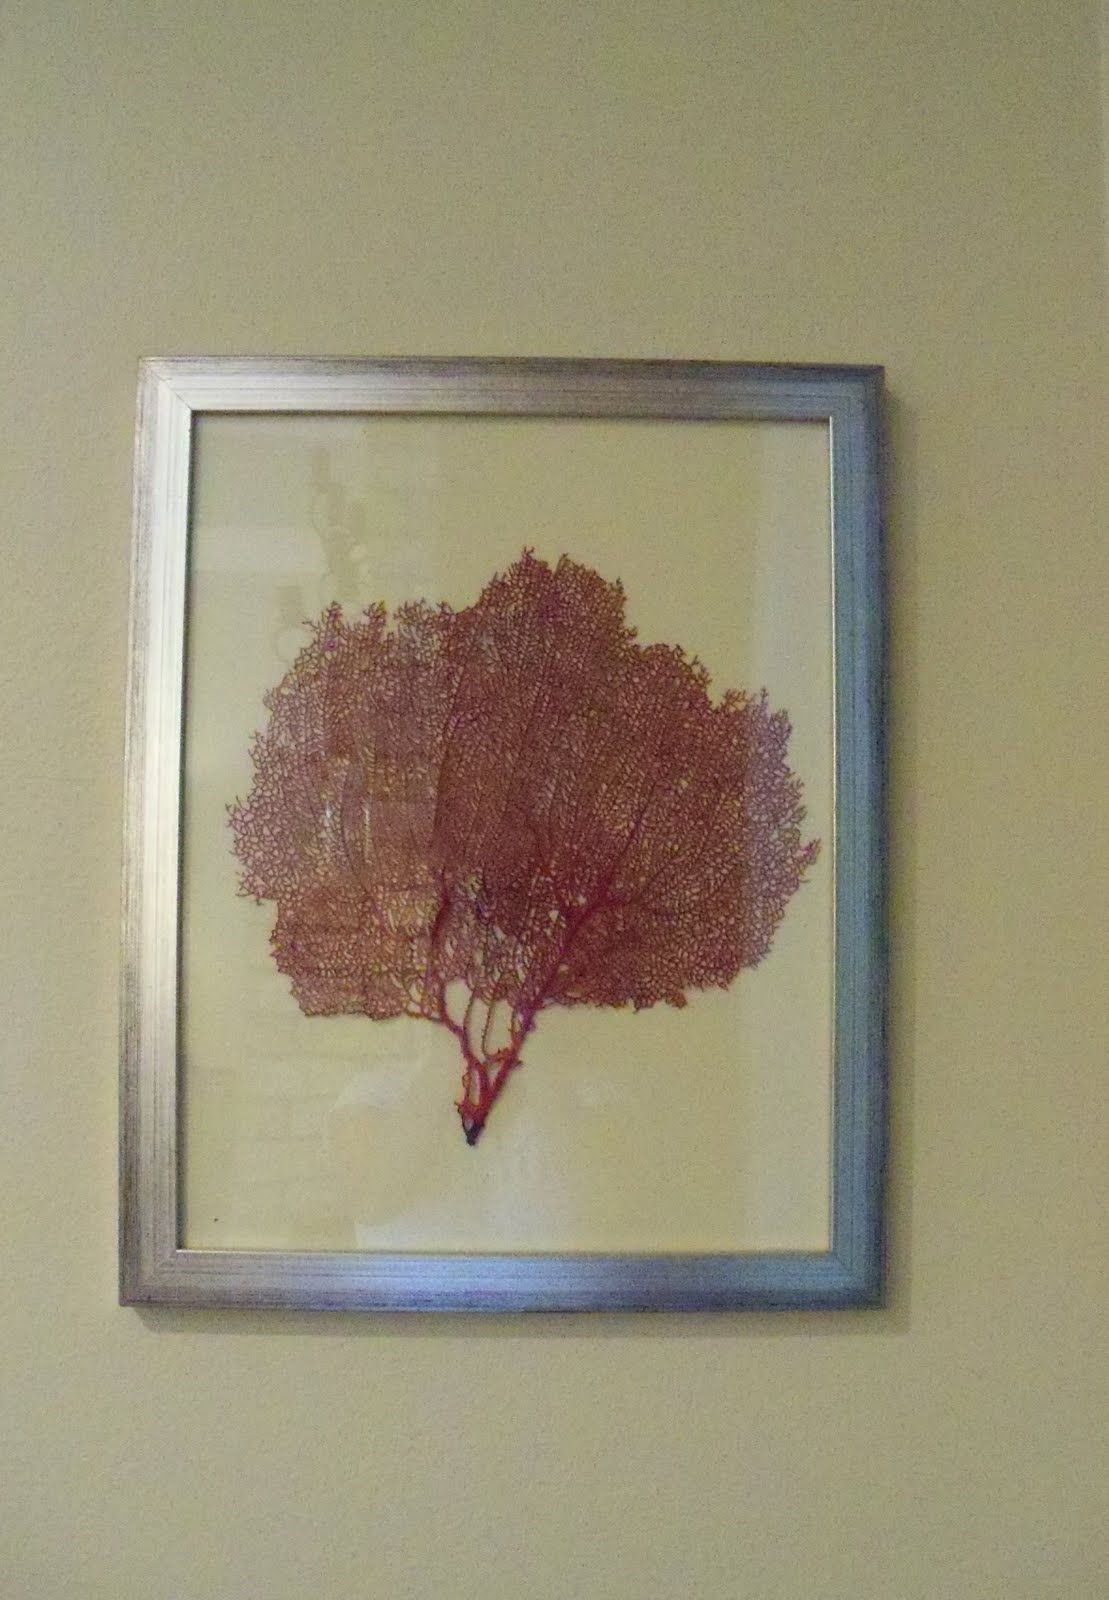
I also did an individual framed sea fan that cost me around $15.00 (frame 50% off):
Sure beats $500.00 doesn’t it! Well, mission accomplished and now I can’t stop dying the fans! I love them!
I have a lot of fun summer projects coming up and some recipes as well, so stay tuned. Thank you again to all of you who have sent emails and left comments, I can’t tell you how much I appreciate your feedback and support!
Happy Memorial Day and look for something next week!
Cheers!
Cyndy
Ann @ makethebestofthings says
Your sea fan project came out FABULOUS! Your cleverness paid off and they look very chic and stylish. I love the red but the blue ones in the pics are just as beautiful. Perfect for a beachy room. Gotta try it! AND…ignore snarky comments, you have the power to delete!!!
The Exchange says
Thanks Ann for your sweet comments!
Who is Pin Dot? says
Love this! Definitely doing some teal ones soon. Thanks.
Kristy says
I love bring things in inside from nature. I've been the shop a few times. I made sea shell chandelier from treasures I picked up there.
Joyce says
Love the sea fans, how clever to use the Rit dye. So happy to see Murdochs in your pictures. I think it's been there since 1911. It's my favorite place to buy shells. Joyce in Houston
Room to Inspire says
These look great – and the price is just awesome! Thanks so much for linking up to Be Inspired last week.
Chelsea
Cote de Texas says
wow!!!!!!!!!!!!!!!!!! This is fabulous !!! I love the dyed fans and just bought some for a client a few weeks ago. you are sooo creative!
thanks for the great comment on this too!
Joni
Michelle @ Sweet Something Design says
What a FANtastic project!:) You can't beat that price either! Thanks for sharing~it looks beautiful!
Kim @ Cheap Chic Home says
Oh, Cyndy! I was hanging on your every word of instructions. These are just gorgeous, I'm not sure if I've seen these before. I need to figure out a place to work these into my decor. Thank you so much for sharing your lovely home.
Ginger says
Gorgeous decor & your tutorial awesome!
Thank you for sharing this idea with us all.
hugs
Suzanne@Meridian Road says
This is SO COOL! I can think of so many places in my house where this would look really good. Thanks for the information!
Ⓙaη @ ฿◎ßßƴ℘ḯη❝﹩ ℬ◎aґdẘαʟк ツ says
Excellent! You thought our of the box to get this one to come together for your so beautiful. LOVE IT!
feelincrafty says
beautiful! My mom has been holding on to some sea fans and I think I'll help her do this project. She had a shadow box frame ot put them in, but they didn't fit. I love them framed flat. And dyed to match the interiors! Nice work!
Yanet @ 3 Sun Kissed Boys says
Oh my, you're a wealth of information to me tonight! The fans look terrific! I would have thought of spray painting them too. Thanks for taking the guess work out.
Ange_du_nord says
I'm so happy I found your website! I was looking at framed sea fans from restoration hardware, and they're so beautiful but like you said the price is too high (395 each), so I started looking to see if I could make my own art with sea fans. Thank you!
Maral says
Thank you so much for posting this blog. I have been obsessing over these beautiful framed sea fans at Bliss Home Design for months. They are priced at $500 each. I am going to try and make my own. I’m so excited I found your site. Thank you!!!
Lauren says
Hey! Love this tutorial! Just FYI: you can go to RIT’s website and look up colors you like and they give you recipes to make that color with their dyes. There are HUNDREDS of colors to choose from!
allen says
i live in puerto rico and do alot of diving . recently i started collecting sea fans for their beauty and form. i glue them on ceramic tiles which are given to me as left overs.for the frame i use driftwood i pick up on the shore. they are beautiful, ido not sell them, at times ijust give them away to friends.
Britt says
Heyyyy, I am about to do this to some huge sea fans I am framing above my bed and was just curious….how hot of water did you use and did you use salt or vinegar or just the dye/water? Thanks! 😀
Ellen Bock says
Hi! I have always wanted one of these (saw them at Restoration Hardware originally). I was sitting around and thought, dang, I could do that myself! And I live in Houston and immediately thought of Murdoch’s. I am so excited to find your blog and can’t wait to get started on my project!!
Evelyn Escamilla says
Hi there! Love this tutorial! Quick question… I ordered the sea fans online.. cheap! but they came with a big bulb at bottom.. how did you cut that off? don’t want to ruin these. thanks again!
Cyndy says
I cut about half of the bulb off with a hand saw Evelyn. I left a small amount of the bulb/stem to not make it look odd. Sometimes I have sawed the length on the back side but the front looks the same, so it would fit into a frame. I hope that helps!! Thanks for stopping by Evelyn!
Julia Lawson says
I wonder if you could help me…..I dyed a sea fan using Rit aquamarine hoping to get the rich color I’ve seen on your pix and others. It came out sort of a dingy dark greenish blue that is UGLY.
Can I swish it in clorox and water to get the dye out and start over?
Any idea what I did wrong to begin with?
Thanks so much,
Julia
PS. Your stuff is FABULOUS!
Kelley Dunn says
I bought a sea fan from the website you suggested. Unfortunately the owner of the shop sent me a sea fan half the size of the one I ordered and charged me the price of a much larger one. He refused to acknowledge the error and would not take the fan back unless I paid full shipping to return it as well. Leaving me out 12.00 with no fan to show for it. He ignored any further contact to resolve the issue. Be warned, never buy from this place. It’s a complete scam. Wish I would have know this before, hopefully I can save someone else from falling into the same trap
Cyndy says
Oh Kelley, I am so sorry to hear that and am so glad that you have let me know. Thank you!! I was just getting ready to order more sea fans and I will do more research for another vendor and post my findings here and update the post with a new source. That is unacceptable to me and I am so glad that you took the time to tell me so I can no longer recommend them! Thank you so much and I’m sorry for your experience!
Kelley Dunn says
Thanks! Just didn’t want anyone else to have the same unfortunate experience. Please let me know if you find another reputable vendor. I would love to do a project with these, just afraid to get scammed again. Thanks again!
audry adams says
Cannot find out how to order seafans from Murdochs. Please help!!!!! Tks
Evelyn says
Murdochs doesn’t sell them anymore… I bought mine here
used the Atlantic/Carribean and they came out amazing! Bought the large though… don’t see they sell large anymore.. but there is the red sea fan variety in the large.
http://deltonaseashells.com/sea-fans-
Lindsey says
Hey! I LOVE these. I have wanted to do this for months and have already bought the sea fans. The problem I’m running in to is framing them! I bought basic 16×20 metal frames and extra 16×20 acrylic to put on the back to make it clear on both sides. The problem is the only way to secure the back piece is using metal tabs and they show through :(. I bought more frames yesterday that just have the fold down black tabs but those show too. I thought about a floating frame, but I didn’t think that would work since the fans are thicker than a photo. How/what do you do?!
Cyndy says
I sealed the back of my glass with clear silicone to hold the glass in place. The extra benefit of sealing with clear silicone is that if you do a solid seal all the way around, you will not get any dust on the inside! I hope that helps Lindsey! By the way, what color did you die your fans? I would love to see a pic when you’re done. Good luck and I’m here if you need me!
Cheryl Rykwalder says
I love these! I received a sea fan from a special friend who brought it back from a snorkeling dive in the Caribbean. It is rippled, not flat, and the coral is rather thick. It is a deep brown, so dying is probably not going to work. Do you have any suggestions on how I can frame this?
Cyndy says
Hi there Cheryl! When the sea fans soak in the dye mix and then you lay them flat, they will become flat again because they absorbed the water. Dying should work on even the darkest of colors. I hope that helps! I’m here if you have any more questions. Thank you!
Michele says
Can you tell me if it’s possible to soften dried sea fans? I have some that I’d like to frame, but they are not flat…Thanks!
Kim says
Can you please send a link where I can find such great frames. Theres no where around me where I can pick them up but I could order. Thank you and great tutorial.
Autumn says
Brilliant idea! Thank you for sharing.
My question is, have you tried other glue options? Any issues with the hot glue not holding up?
Also when your submerging the fan coral does it become flexible? As in could I bend to reshape it? If I were to hang dry would that be an okay way or do they need to lay flat to dry?
Dawn Sims says
Hey Cheryl! Got a brainstorm going myself and was so thankful to find your post from several years ago. I found a hanging light fixture that was made to look like a cylinder of edge-overlapping sea fans… sea fan lampshade, but with a price tag of just over $1000, I’m looking for a sane option. My first/main problem is finding out if actual dried sea fans become pliable if soaked in water, I need to slightly curve them into the circular form. And while I’m loving your project and what to dye one as well… I’ll try probably try gold leaf paint options to finish the chandelier shade off. Thanks SO MUCH for any insight you can offer! You can see the light fixture I found at :
https://www.onekingslane.com/p/4584499-extra-large-sea-fan-chandelier-brass?cat=287
Cyndy says
Hi Dawn!
Yes, the sea fans are extremely pliable when soaked in water. You could curve them around a circular form of some sort and tape to hold them down until they dry. Hope that helps! Good luck!
Sofi says
Have you tried painting them white?
Do you have any advice on preservation? I got some that washed up on the shore and I wonder what needs to be done with them.
Kristin Larsson says
A little shout out from Kristin, Stockholm, Sweden here. Just wanted to say thank you so much for these instructions! I have followed them, and just finished of dyeing a big beautiful sea fan I got from Etsy (USA). It came out absolutely stunning (I used the colour coral)! Mine ended up costing me around 150 $ with shipping and custom tax, but it is so well worth it. I’ve been wanting one forever (they are nowhere to be found here in Sweden), and now I just have to frame it! Take care, I love your blog!